Find your crack
Match what you are looking at, then jump to the fix.
Fine cracks around the rim
Save it
What happened
The rim is the thinnest part and the most exposed, so it dries first. It shrinks while the body below it is still full of water, and it tears.
Fix
While still damp, rub a slurry of clay and water into the crack with a fingertip and smooth it closed. Then cover just the rim with a strip of plastic so it dries at the same rate as the walls.
One deep split across the base
Rework it
What happened
The base was thicker than the walls. Thick clay holds water longer, and the tension between a dry wall and a wet floor pulls the base apart.
Fix
If it is still soft, compress the base firmly with the back of a spoon and re-dry slowly. If it is bone dry, this one is a rebuild — but make the base the same thickness as the walls next time.
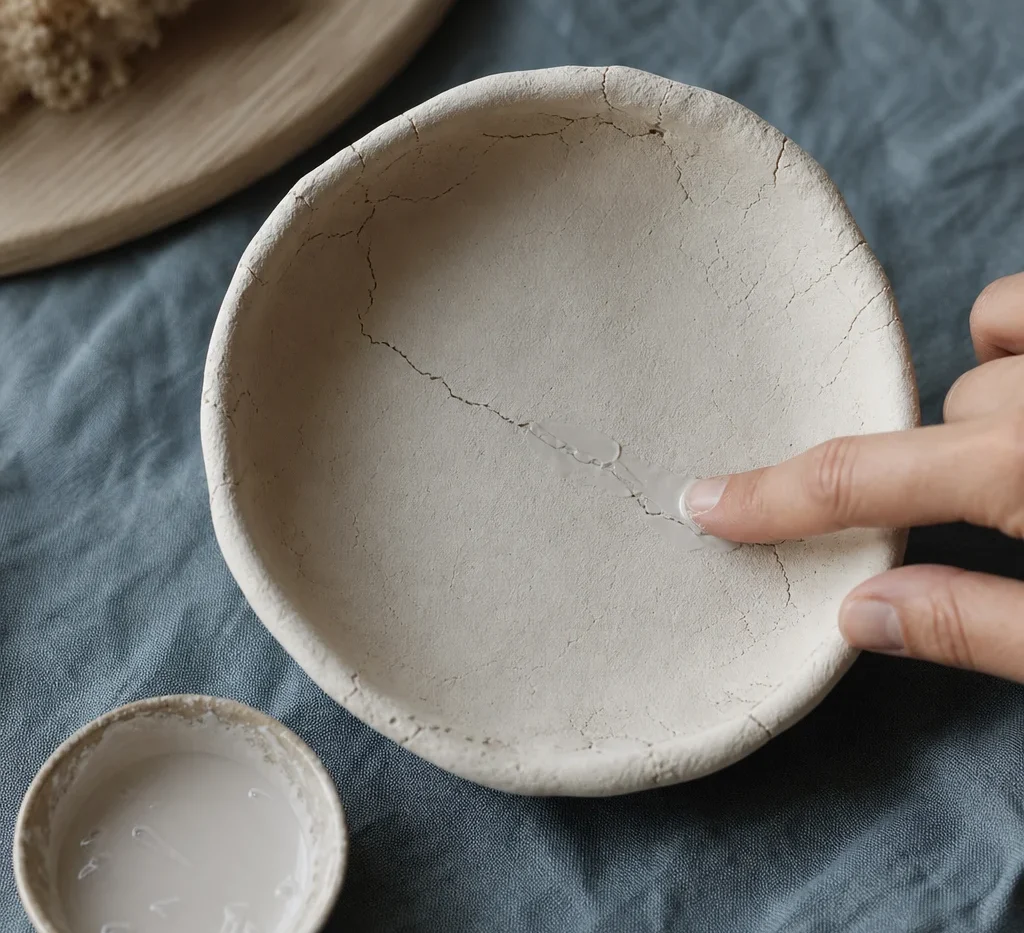
A web of shallow cracks all over
Save it
What happened
The surface dried much faster than the interior — usually a warm dry room, sometimes a fan. The skin shrank onto a still-wet body.
Fix
Sand smooth once fully dry, then fill with a thin paste of clay and PVA. This one genuinely disappears under paint.
Cracks at a join
Rework it
What happened
The pieces were pressed together rather than scored and slipped. There was never a real bond, only friction, and drying broke it.
Fix
Separate the pieces completely, score both faces in a crosshatch, wet them, and press together with a slight twist. Blend the seam with a tool, not just a finger.
Cracks after painting
Start again
What happened
The piece was not fully dry when it was sealed. Trapped moisture had nowhere to go, expanded, and pushed the surface apart from the inside.
Fix
There is no reliable rescue for this one. Next time, wait until the piece is at room temperature and no longer feels cool against your cheek — cool means wet.
Prevent it next time
- Keep walls and base the same thickness throughout.
- Dry slowly, loosely covered, away from heat and sun.
- Score and slip every single join, however small.
- Turn the piece daily so all sides dry evenly.
- Wait for room temperature before you paint or seal.