Everything about a pinch pot is forgiving. There is no wheel to fight, no kiln to book, and the wobble you are worried about is the thing that makes people pick it up and ask where you bought it. Work slowly and the walls will find their own thickness.
Warm the clay in your hands for a full minute before you shape anything. Cold clay cracks at the rim, and the rim is the part everyone looks at.
Roll the clay into a ball
Take your 250g and work it between both palms until there are no seams and no dry patches. You are looking for the texture of firm marzipan. If it feels like it is drying at the edges, wet one hand and keep going.
A ball with a crack in it now becomes a bowl with a crack in it later. Spend the extra thirty seconds.
Open the centre with your thumb
Hold the ball in your non-dominant palm. Press your thumb straight down into the middle, stopping about a centimetre from the bottom. You will feel the floor of the bowl through the clay before you see it.
Do not try to make the hole wide yet. All you want at this stage is a deep, narrow well.
Pinch the walls up and out
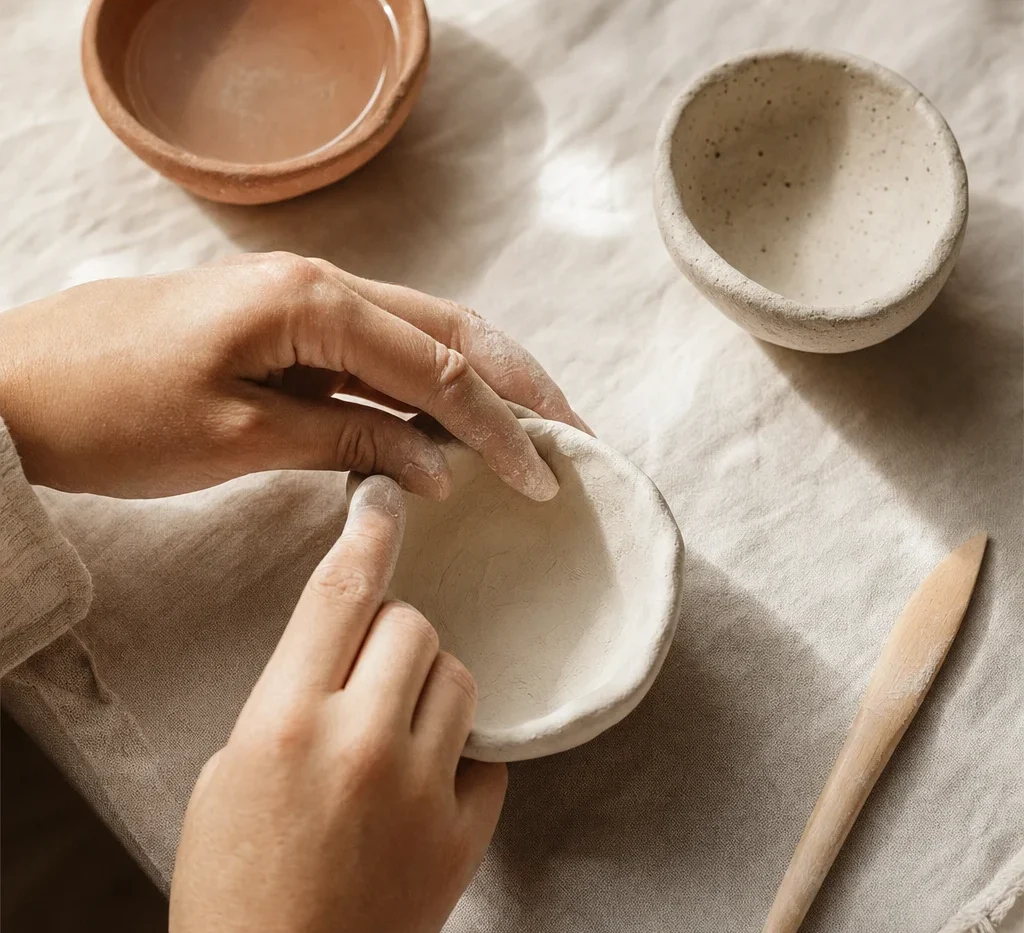
Now the actual technique. Pinch between thumb and forefinger, starting at the base, and rotate the bowl a few degrees after every pinch. Work in complete rings, bottom to top, rather than attacking one side.
- Even pressure matters more than hard pressure.
- Aim for walls around 8mm thick — thinner and it will crack, thicker and it will take days to dry.
- Stop and turn the bowl upside down every few rounds to check it still sits flat.
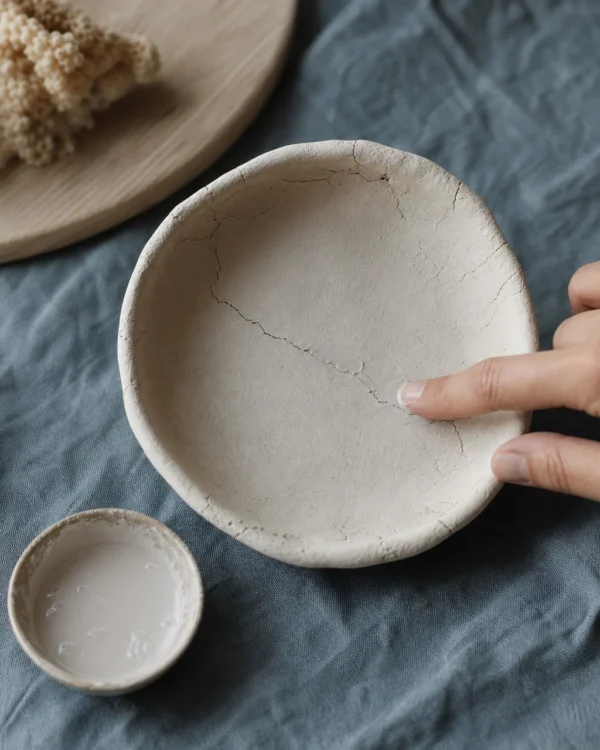
Dip a finger in water, run it around the rim, and smooth the crack closed while the clay is still soft. Cracks caught now vanish. Cracks caught tomorrow do not.
True the rim and let it dry
Press the bowl gently down onto your work surface to flatten the base. Run a damp finger around the rim to soften the edge. Then leave it, uncovered, somewhere out of direct sun for 24 to 48 hours.
Resist the urge to speed this up on a radiator. Fast drying is the single most common cause of a cracked air dry piece.
Sand, paint, seal
Once bone dry, sand lightly with 220 grit — just enough to knock off the high spots, not enough to lose the handmade surface. Paint the outside and leave the inside raw for contrast, then seal with two thin coats.
The first one is never the good one. Make three, keep the third, and give the first two away before you get attached.
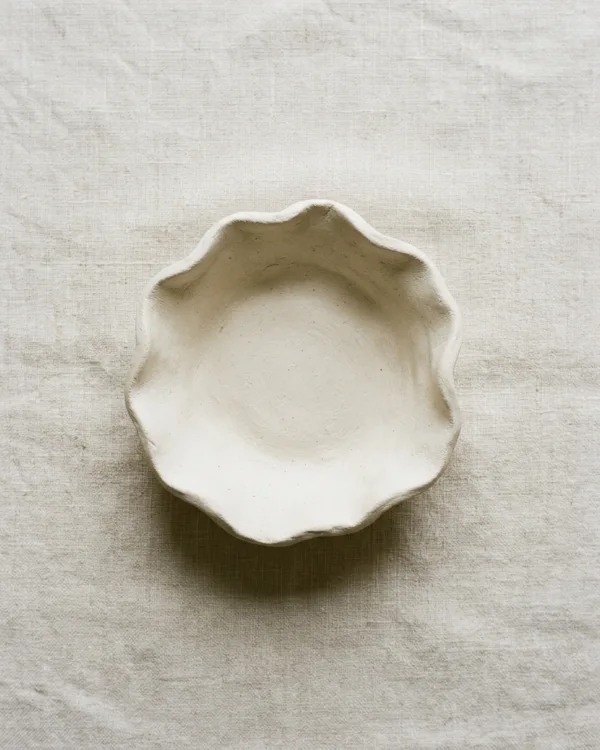
The bowl sits flat without rocking, the walls feel the same thickness all the way round, and the rim has no sharp edge anywhere.