Most beginner guides spend their length on shaping and give drying two lines at the end. That is backwards. Shaping is the part you can watch go wrong and correct while it happens; drying runs overnight with nobody in the room, and it decides whether the piece is still in one piece by Thursday.
What follows covers the whole arc, from an unopened block to a finished piece on a shelf. No kiln. No wheel. Air dry clay is genuinely beginner-friendly, which is not the same thing as forgiving.
At a glance
- Dry time: about 24 hours per 6mm of thickness, longer in a cold room
- Shrinkage: around 5 percent, concentrated in the thick parts
- Waterproof: never, with any sealer sold as one
- Start-up cost: roughly $20 including the clay
- First project: a draped dish, 30 minutes hands-on
What air dry clay is, and what it will never do
It hardens by evaporation. Nothing else happens. There is no chemical change and no point at which the material stops being water-soluble, which is why a finished piece left in a full sink overnight comes out as a slump.
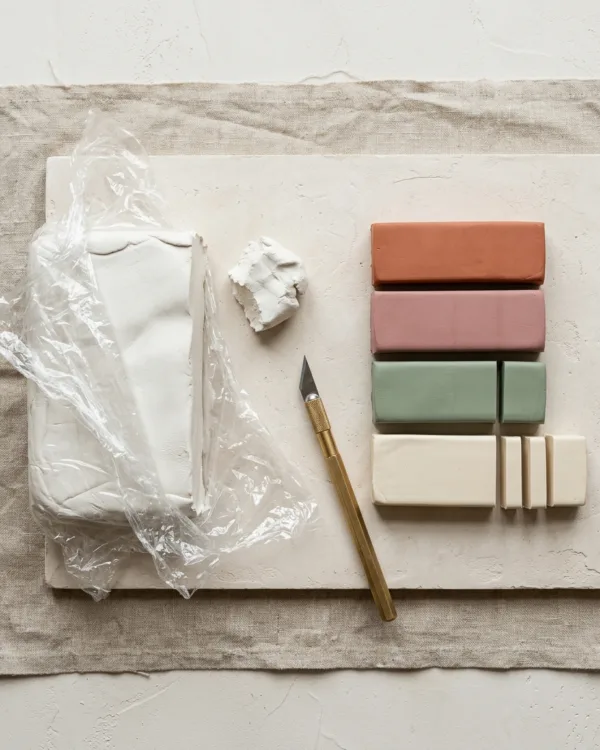
Two families sit on the craft store shelf. Paper-based clays carry cellulose fibre and take sandpaper beautifully. Das and most own-brand blocks live here. Mineral or stone clays like La Doll are finer and heavier. They hold a crisp edge better and cost about three times as much.
Start with paper-based. The extra detail a stone clay gives you is invisible until your shaping is good enough to need it, and by then you will know which one you want.
Choosing your first block
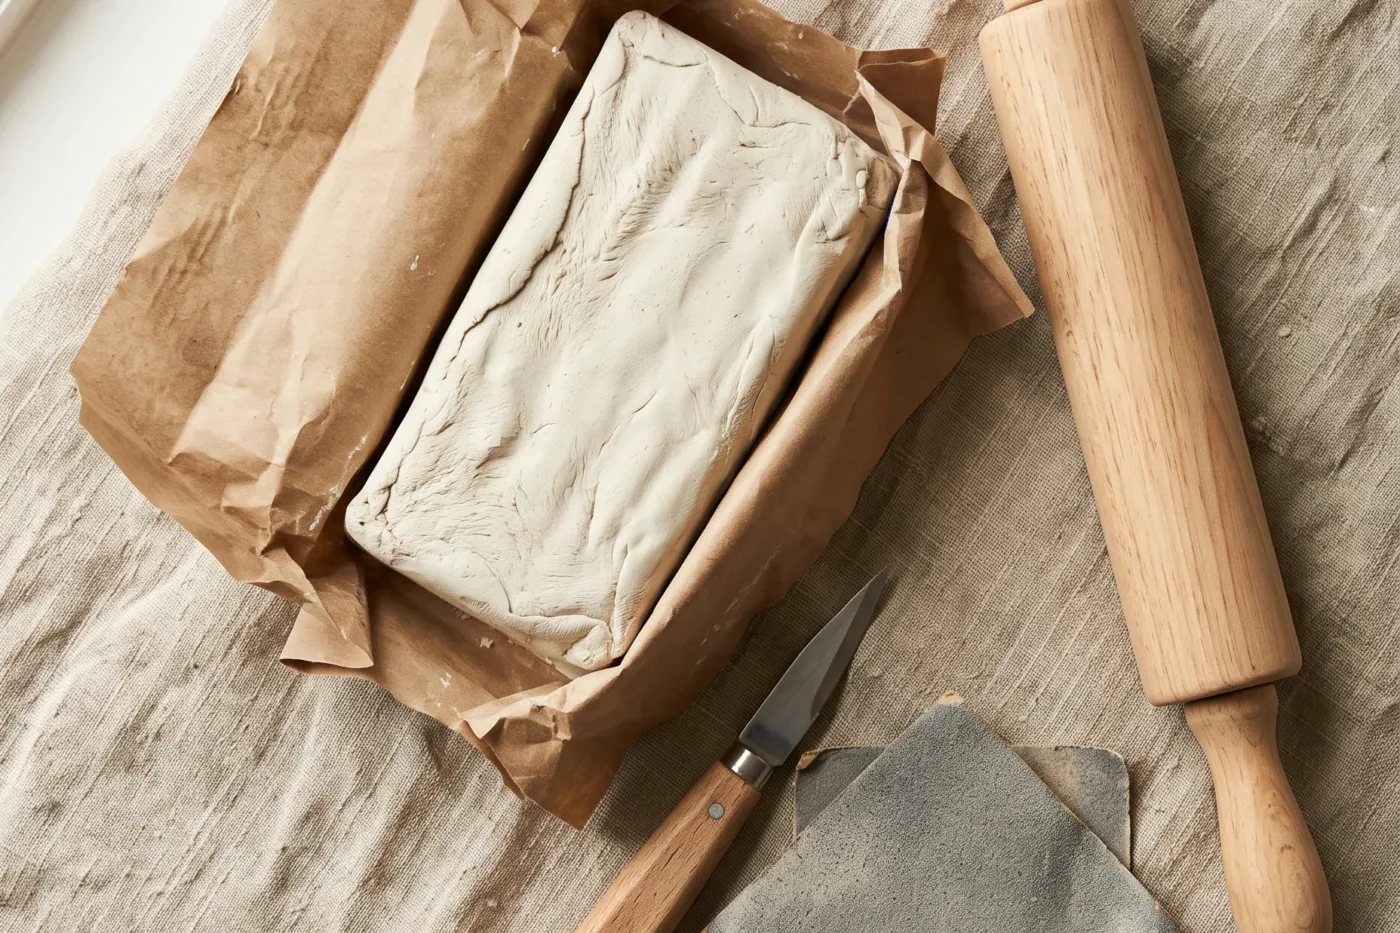
Weight first: 1kg is the right amount to buy. That makes eight to twelve small pieces, which is enough to get past the stage where everything you touch goes wrong without leaving half a bucket to dry out in the cupboard.
Das in white or terracotta runs about $9 a kilo and is the safest default. Crayola is softer and cheaper, forgiving under small hands, but chalkier once dry and more prone to surface fuzz. Terracotta-coloured clay hides fingerprints and thin spots far better than white does, which matters more on a first attempt than the colour itself.
Squeeze the packet before you buy it. Clay that has been sitting on a warm shelf for eight months gives back a firm, slightly crunchy resistance instead of a soft yield, and no amount of kneading brings that block fully back. Cheap clay is rarely the problem beginners think it is. Old stock usually is.
Five tools, and what you already own instead
The full beginner kit costs under $12 if you buy it, and close to nothing if you raid the kitchen.
- Rolling pin — a wine bottle works, though the taper fights you at the neck
- Thickness guides — two 6mm dowels, or two paint stirrers laid either side of the clay
- Craft knife — a paring knife cuts fine; the difference shows on curves
- Needle tool — a bamboo skewer does the same job for scoring
- Sandpaper, 220 and 400 grit — no substitute for this one
Skip the sculpting-tool set with fourteen pieces in a roll. Four of them are useful and you will identify which four within a week, at which point you can buy those four properly.
Rolling a slab that stays flat
Even thickness is the whole game. A slab that is 8mm at one end and 4mm at the other dries at two speeds and pulls itself into a curve, and there is no fixing that after the fact.
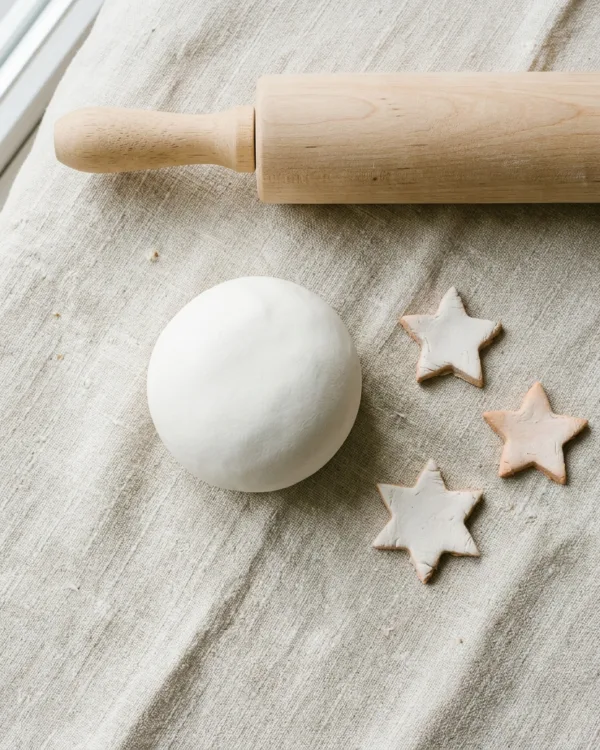
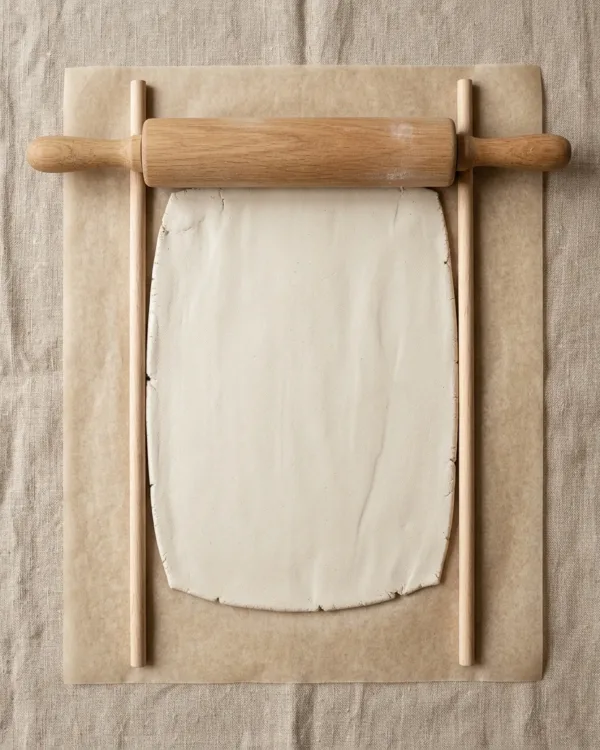
Lay your two guides parallel, about 20cm apart, with the clay between them. Roll until the pin rides on both guides at once. Turn the slab a quarter turn between passes rather than rolling back and forth in one direction — that stretches the fibre one way and the piece remembers it while drying.
Roll on baking parchment, not straight on the table. You can then lift the parchment to move the slab instead of peeling it up by hand, which is where most first slabs get stretched out of shape.
Joining, and why the handle fell off
Fired clay fuses. Air dry clay does not, so every join is mechanical and every join needs slip.
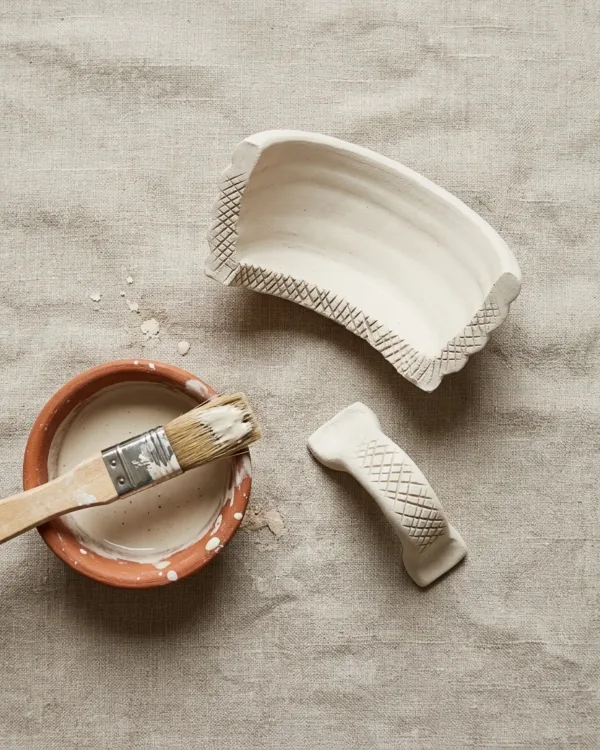
Cross-hatch both faces with the needle tool, deep enough to catch a fingernail. Mix a little clay with water to the consistency of yoghurt. Brush it onto both scored faces, press them together with a small wiggle, then blend the seam with a damp fingertip so no visible line remains.
A drop of PVA glue stirred into the slip makes a noticeably stronger bond on paper-based clays. Purists dislike it. It also stops handles snapping off in the first week, which settles the argument for most people.
Butt joints with no scoring do not fail later. They fail during drying, quietly, opening a hairline crack you find the next morning.
Drying is the part everyone gets wrong
Clay loses roughly 5 percent of its size on the way to dry, and more than that wherever the piece is thickest. That one number explains most beginner failures. A cracked rim, a base that curls up off the table — both trace back to water leaving the clay faster in some places than in others.
Slow beats warm, every time. Twenty-four hours per 6mm of thickness is the working rule, and a cold damp room can push a simple dish to three days.
Keep pieces off the radiator and out of direct sun. The oven is out too, unless the manufacturer specifically publishes a temperature for that clay. Heat pulls moisture from the surface long before the core lets go of it, and the shrinking skin tears itself over the wet middle. That is the crack you get at 3mm from a rim.
Flip flat pieces over at the halfway mark so both faces lose water at the same rate. Handles and thick joins want tenting loosely with a plastic bag for the first four hours, letting the thin parts catch up before the whole piece is exposed. And weight matters: a slab drying between two boards with parchment on either side stays flat where the same slab on a worktop cups upward.
Clay still feels cool to the touch while it holds water. When a piece has reached room temperature all over, including the underside, it is dry.
Every brand behaves differently, and most air dry clays split at temperatures a home oven treats as low. Some manufacturers do publish a low-temperature schedule for their own product — follow that one if it exists, and treat advice written for a different brand as irrelevant.
Sanding changes how the piece reads
This is the step that separates a finished object from a school project, and it takes four minutes.
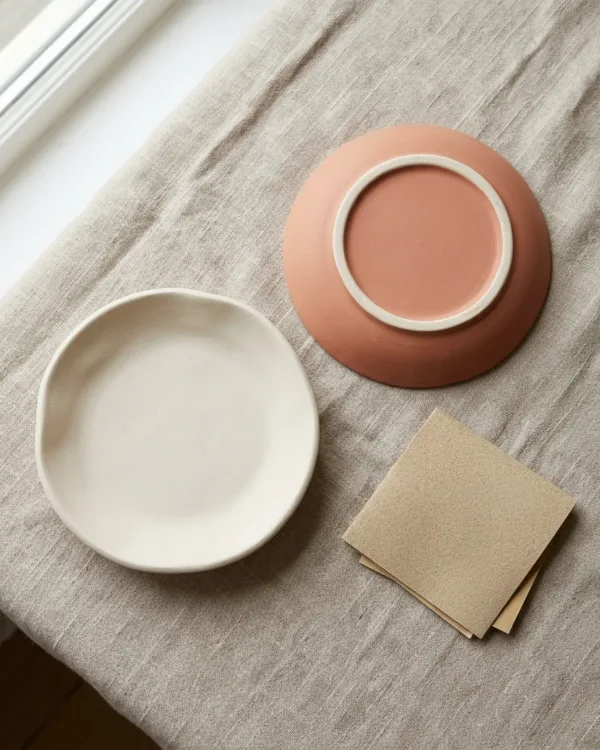
Work through 220 grit first to knock down the ridges, then 400 to bring up a smooth face. Do it outdoors or over a bin, wearing a dust mask. The dust is fine enough to hang in a room for an hour, and an afternoon of sanding puts a lot of it in the air. A barely damp cloth afterwards lifts the residue off the surface.
Sand the rim before anything else. Fingers reach for that edge before eyes finish reading the shape, and a cut edge still carrying its knife burr feels wrong under a thumb no matter how good the form is.
Small cracks fill with slip, pressed in with a fingertip and left to dry for an hour before sanding flush. Larger ones are structural and better broken open and rejoined properly.
Painting without softening the surface
Acrylic is the answer. Watercolour re-wets the clay too much and oils never fully cure on a porous body.
A thin coat of white acrylic or gesso first gives you even colour on paper-based clay, which drinks pigment unevenly wherever the fibre sits closer to the surface. Then two thin coats of your colour, not one thick one. A thick coat carries enough water to soften the top half-millimetre of clay, and the brush drags the surface into the paint.
And paint the underside. Nobody photographs the base, but everybody picks the thing up.
Sealing, and what waterproof actually means
Nothing sold in a craft store makes air dry clay waterproof. Sealers slow water down; they do not stop it, and a sealed piece left standing in a puddle still softens from underneath.
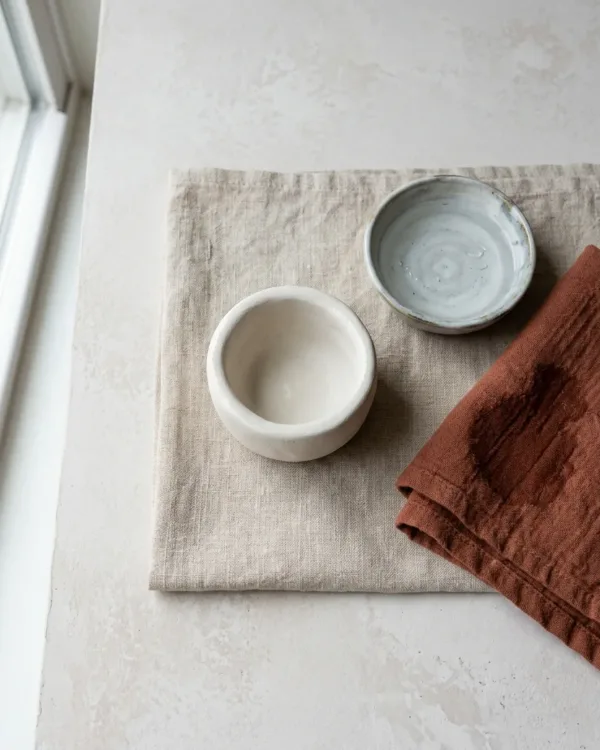
Matte acrylic varnish is the usual choice and gives a finish close to bisque pottery. Polyurethane is tougher and yellows slightly. Two-part resin is the most water-resistant option available and the fiddliest to mix, which makes it worth the trouble only on pieces that genuinely meet liquid.
For anything that holds water, put a barrier inside it. A glass test tube dropped into a bud vase or a plastic liner inside a plant pot cover does what no sealer will.
Treat air dry clay as decorative. It stays porous, and the sealers sold for it are not rated for food contact. If you want a piece to hold food, check the manufacturer’s own food-safety rating for that specific clay and that specific finish, and take their answer over anyone else’s.
Working with kids, age by age
Air dry clay suits children better than almost any other craft material, provided the task matches the hands.
Ages 3 to 5 can pinch and press objects into a slab with an adult beside them. No cutting tools. Expect the piece to break, and plan for that rather than promising it will survive.
From 6 to 9, plastic knives and cookie cutters work well, and a child this age can manage a whole draped dish with supervision at the trimming stage. Ten and up can handle scoring, slip and a craft knife.
Check the packaging for the manufacturer’s own safety marking rather than assuming any block is fine — most mainstream brands carry one, and it is printed on the wrapper for a reason. Small children put things in their mouths, so supervision is the actual control, not the label.
Your first project, start to finish
Thirty minutes of hands-on work gets you a draped dish, and it teaches rolling and finishing in the same sitting.
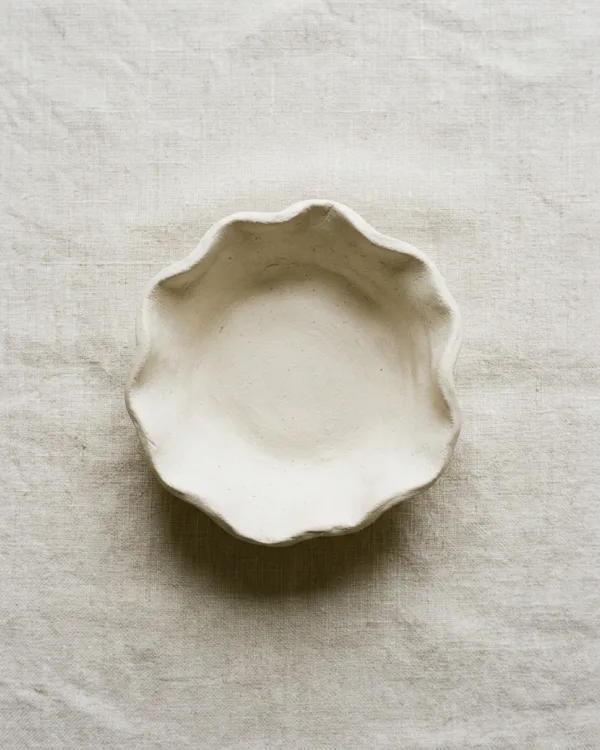
Roll a 6mm slab between your guides. Cut a 14cm circle using a side plate as a template. Line an upturned cereal bowl with cling film, drape the circle over it, and let gravity do the shaping rather than pressing it down. Trim the edge where it goes uneven, smooth the rim with a damp finger, and leave it on the bowl for 24 hours before lifting it off to dry the second face for another 24.
Then sand, paint, seal. The first one will be slightly wonky. The second one will not, and the gap between those two attempts is the entire learning curve for this material.
Storing an opened block
Wrap the remainder tightly in cling film with the air pressed out, put that inside a zip bag with a damp paper towel tucked alongside it, and keep the bag in a lidded tub. Skip any one of those and you are working against the clock.
Clay that has gone firm but not hard comes back: knead in water a teaspoon at a time, working each addition through completely before adding the next. Fully dried-out paper-based clay can be shredded, covered with water and left overnight to slake, then dried back to workable on a plaster board or an old towel.
A block left in its opened packet on a shelf has about a week of useful life. Wrapped properly, the same block is still soft six months later.