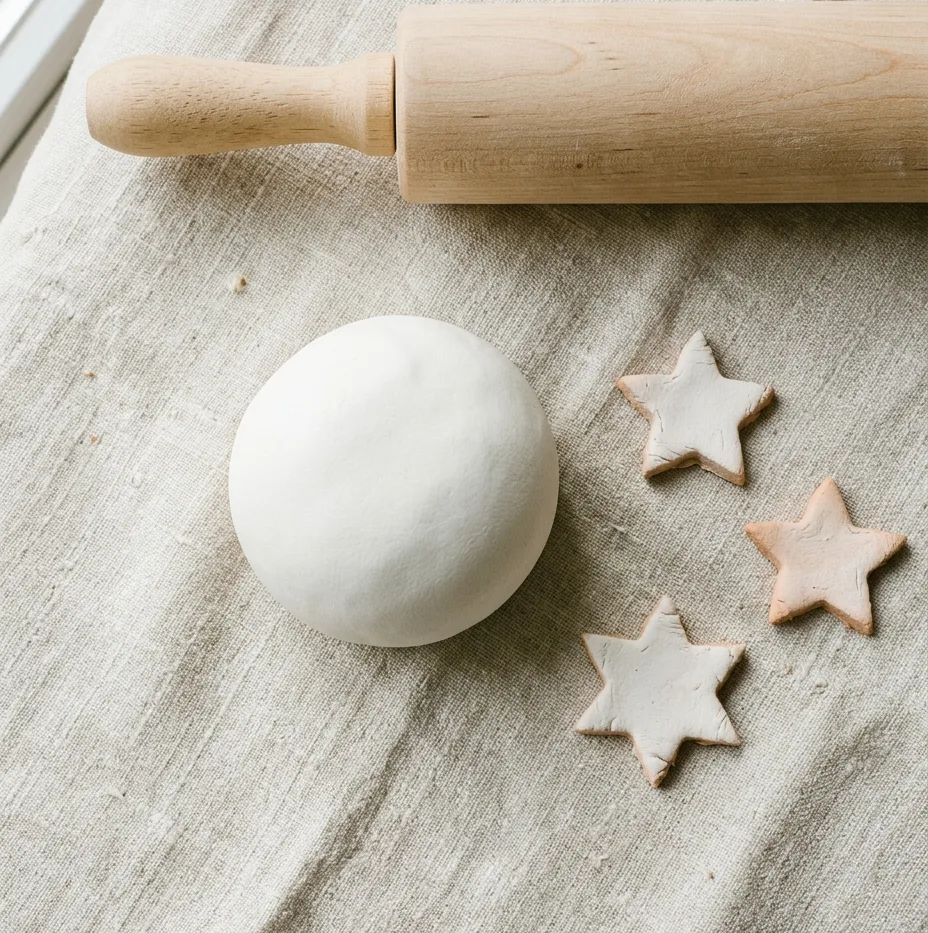
Eight dollars buys a 500g block of air dry clay. Every recipe below lands between 40 cents and two dollars a batch, and four of the five come out of a kitchen cupboard you already own. That gap is why people try making their own. It is not why they keep doing it.
They keep doing it because these five clays behave nothing like each other. One dries faintly translucent at a millimetre thick. One weighs almost nothing. One holds detail small enough for doll-house work, and one is really just an afternoon with a child that happens to produce ornaments. Picking the right recipe for the object beats buying a generic block, and the ratios below are the ones that survive contact with an actual kitchen.
None of these is waterproof, and none should go near food whatever the ingredients suggest. Sealer slows water down. It does not stop it. Salt dough earns one extra line: the salt content is high enough to make a dog seriously ill if it eats a dried ornament off a low branch, so hang those out of reach and bin the offcuts instead of leaving them on a worktop. Two of the five recipes need a hob or a microwave, which makes them an adult’s job with a child watching rather than a child’s project. The salt dough and the paper pulp are mixed cold and suit roughly age five upward, with an adult handling the oven.
Which one you want depends on the object
Shrinkage decides more than anything else. Cold porcelain loses up to a quarter of its volume drying, while salt dough barely moves at all. The baking soda clay sits between them. So fitted work goes to salt dough and decorative work goes to cold porcelain, never the other way round — a cold porcelain ring band sized on your finger while wet will not go past a knuckle two days later.
Weight is the second axis, and paper pulp clay dries to roughly a third the density of salt dough. A wall piece made from it hangs on a picture hook rather than a wall plug. None of the five keeps the way a bought block does, either. Cold porcelain wrapped tight in cling film inside a sealed box gives you two or three weeks. The baking soda clay goes grainy after about five days, and salt dough wants using the same day it is mixed, because the salt keeps pulling water out of the flour and the dough turns slack by morning. Make small batches. A recipe that fills a mixing bowl is a recipe you throw most of away.
Jump to
Baking soda and cornstarch clay
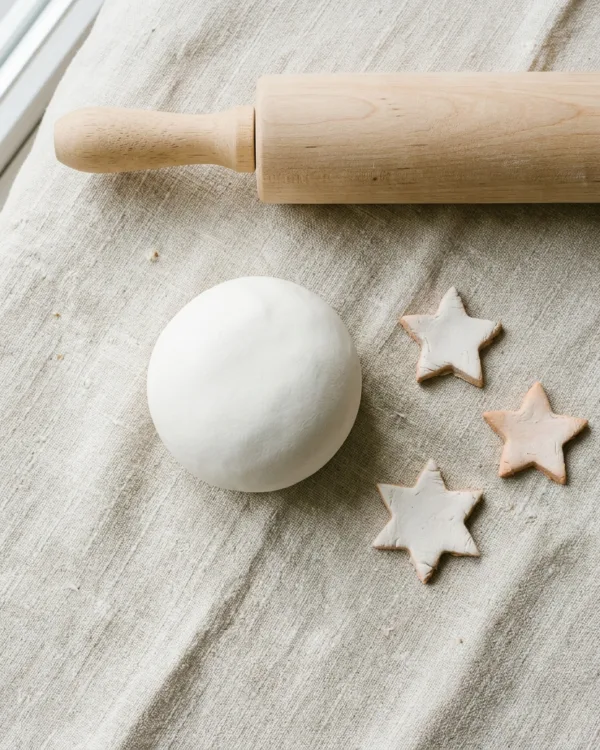
One cup of baking soda to half a cup of cornstarch, three quarters of a cup of water, five minutes over medium heat while you stir without stopping. It goes from thin slurry to something like mashed potato, and that is the moment to pull it off — thirty seconds later the batch turns crumbly for good. Cover it with a damp cloth to cool. What comes out is the whitest clay here. It takes a stamp impression cleanly and dries chalk-hard in about 24 hours. Thin pieces snap, so keep anything you cut above 5mm and it will outlast the season you made it for.
Cold porcelain
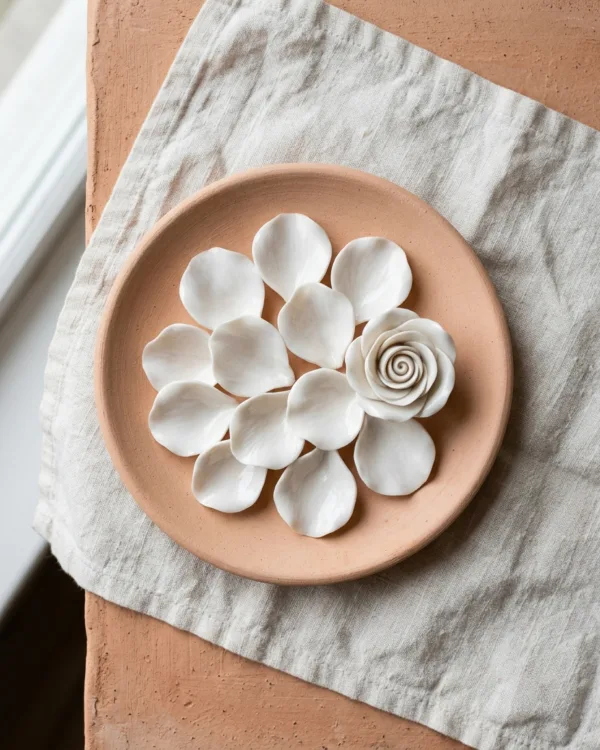
Nothing else here rolls this thin. Beat a cup of cornstarch into a cup of white PVA glue with two tablespoons of oil and a tablespoon of white vinegar, then microwave in thirty-second bursts until it balls up on the spoon. Knead it warm on an oiled worktop and it turns from sticky to silky in about two minutes. Petals rolled to a millimetre come out faintly translucent at the edge, which is why people use this one for flowers. Then the catch. It shrinks 10 to 25 per cent while drying, so anything that has to fit something else needs building oversized on purpose. Skip the vinegar and a sealed batch grows mould inside a fortnight.
Anything you plan to sand should be tinted in the mix rather than painted afterwards, because sanded paint goes patchy where sanded clay does not. A teaspoon of acrylic kneaded through the baking soda clay tints a whole batch. Cold porcelain takes oil paint better than acrylic, about a pea-sized blob per fistful, and it dries two shades lighter than it looks going in.
Salt dough
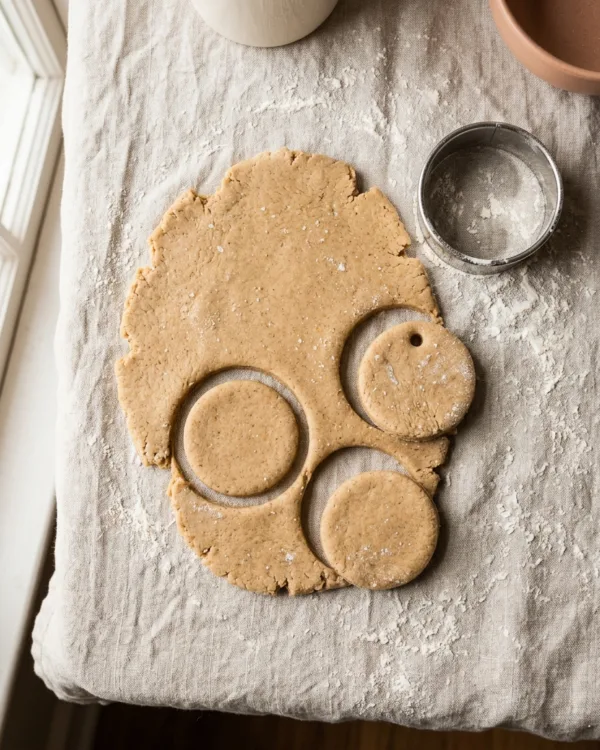
And this one costs about 40 cents a batch. Two cups of plain flour to one cup of fine table salt, then warm water a splash at a time until it stops sticking to your hands. Dry it at 100°C for two to three hours rather than baking it properly — anything hotter blisters the surface into bubbles that sand off unevenly. It is the coarsest clay here and the only one that will not hold a fine impression.
Paper pulp clay
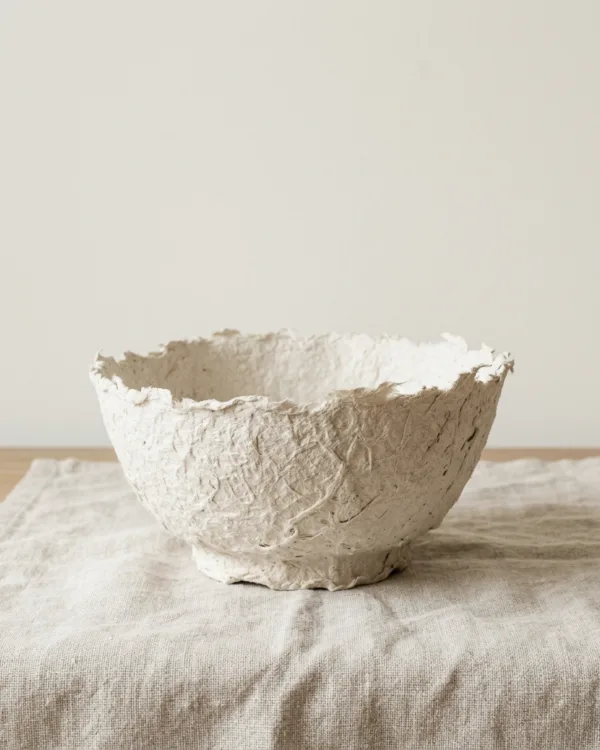
Give this one three to five days to dry and do not rush it on a radiator. Soak a whole roll of toilet paper in hot water, squeeze the pulp until it is barely damp, then beat in a cup of PVA glue with half a cup of flour and two tablespoons of oil. A hand mixer does in ninety seconds what ten minutes of stirring will not. It dries light and tough, and it grips a foil armature instead of sliding off one — the only recipe here that suits anything bigger than a hand. Sanded back, it takes paint like primed board.
Bread clay
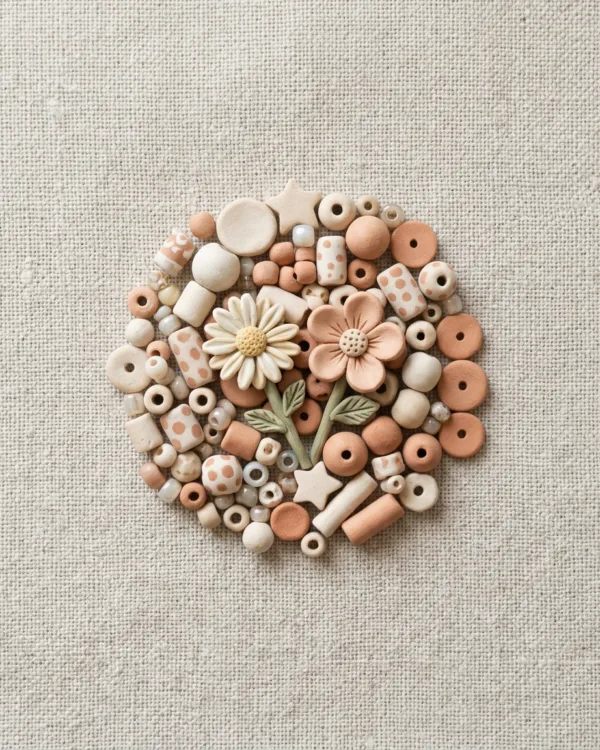
Four slices of white bread, crusts off and torn small, kneaded into four tablespoons of PVA glue until the grey sticky mess turns smooth. It takes about eight minutes and looks wrong for six of them. What you get is a dense putty holding detail at a scale nothing else here manages, and it dries rock hard overnight.
Sealing and finishing
All five dry to a surface that drinks paint. Prime first with one coat of white acrylic gesso or watered-down PVA, or your first colour coat sinks in blotchy and you spend three more evening it out. Sand before priming, never after, working 220 grit then 400. The baking soda clay and the bread clay come up close to smooth. Paper pulp never will, and fighting its texture wastes an hour you could spend painting into it instead.
Sealer is the last step and the one worth spending money on. Two thin coats of matte acrylic varnish beat one thick coat every time, because thick varnish pools in the low spots and dries glossy in patches while the raised areas stay flat. Water still gets through eventually. Treat what you make as decorative and it sits on a shelf for years; put a wet glass on a homemade coaster and you will be mixing another batch inside a month. Cracking, if it turns up, is nearly always a drying-speed problem rather than a recipe problem — the causes and the fix for each apply to homemade clay exactly as they do to a bought block.
Start with the baking soda batch. Fifteen minutes from cupboard to kneadable, and the failure mode announces itself clearly enough that you will know on the first attempt whether you left it on the heat too long. Then choose by object rather than by recipe. Flowers and thin curved things want cold porcelain. Anything hollow wants paper pulp. Salt dough is what you reach for when the point is spending an afternoon with someone rather than keeping what came out of it. Mixed on the same day, all five batches together still cost less than one bought block — and if you would rather start from something shop-bought, the under-$20 starter list covers the rest of the worktop.