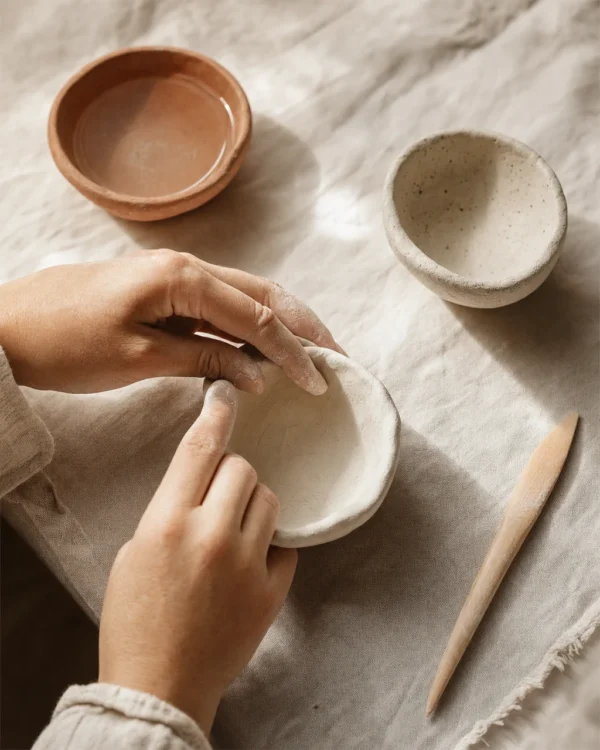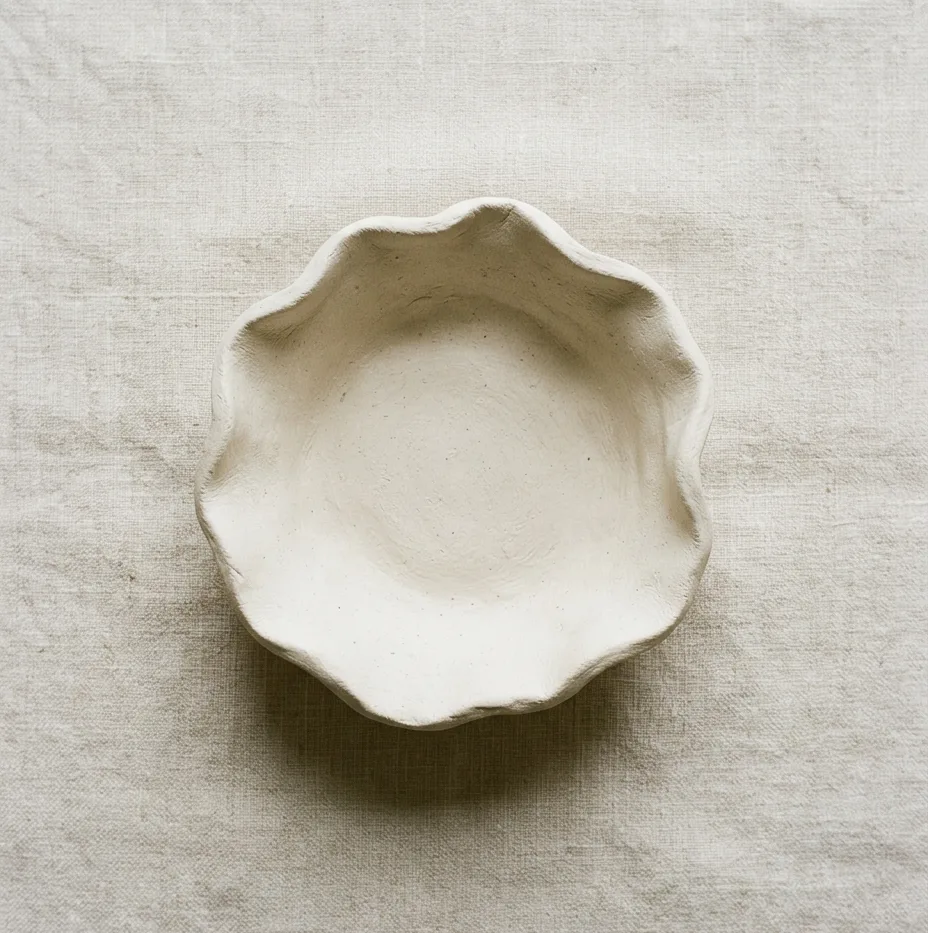
Sand a dry piece with 220 grit, go over it again with 400, then wipe it with a barely damp cloth. That one step changes how a project reads more than any shaping technique below it. Air dry clay looks homemade because people skip the finishing.
Everything here was picked on a single measure: the size of the gap between what a beginner can physically make and what the finished thing looks like sitting on a shelf. Some take fifteen minutes. No wheel, no kiln, nothing that needs a tool you cannot improvise from a kitchen drawer.
Air dry clay never becomes waterproof. Not with three coats of sealer, not with varnish, not ever. Anything on this list that meets water does it through a glass insert or a plastic liner — and nothing here is food-safe, so check the rating on your specific clay before it goes near anything you eat from.
The four moves that do the work
Roll to an even thickness, because uneven slabs warp as they dry. Sand after drying, never before. Then the rim, which is the first thing an eye lands on and the last thing a beginner thinks about — a rim left as the knife cut it is the single clearest tell that something was made at a kitchen table. Paint the underside too. A piece with a finished top and a bare bottom looks unfinished from every angle except the one you were working at.
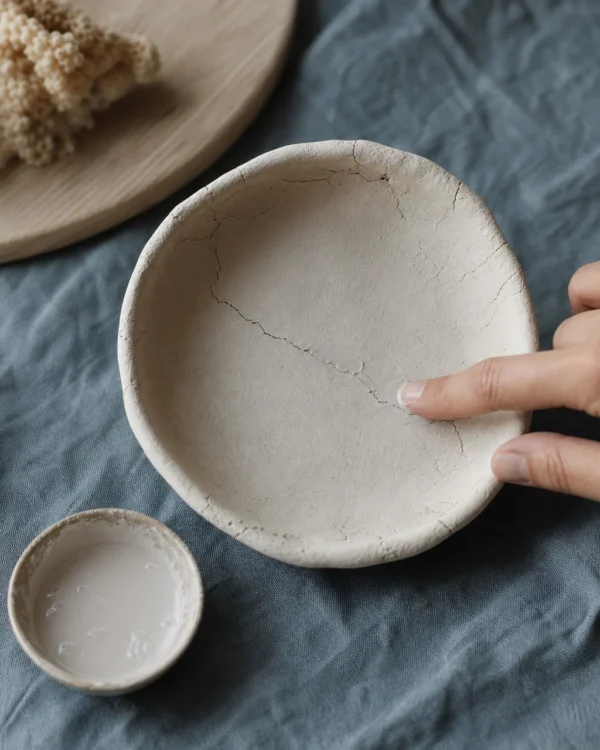
Drying is where the failures happen, and slow beats warm every time. Keep pieces off radiators and out of direct sun. Turn flat things over halfway through so both faces lose moisture at the same rate, because the face that dries first pulls the other one into a curve. If yours are splitting, the causes are worth going through properly: why air dry clay cracks, and the fix for each cause.
Jump to
- 01Draped citrus bowl
- 02Linen-pressed coasters
- 03Arch incense holder
- 04Marbled ring cone
- 05Test tube bud vase
- 06Speckled catch-all dish
- 07Taper candle holders
- 08Napkin rings
- 09Pressed botanical wall tiles
- 10Plant pot cover
- 11Bead garland
- 12Drawer knobs
- 13Card stands
- 14Coil vase for dried stems
- 15Carved stripe vessel
- 16Earring stand
- 17Wall hooks
Draped citrus bowl
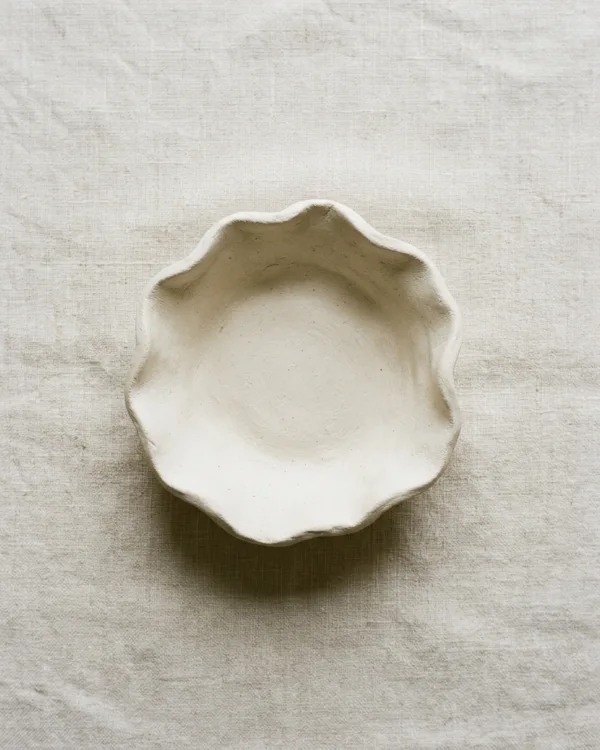
Roll a slab to 6mm and drape it over an upside-down orange wrapped in cling film. Gravity shapes it. What you get is a rim that lifts and dips unevenly, and that unevenness is the thing that reads as hand-thrown — a bowl pinched up from a ball almost never does, which is why the pinch method is worth learning second rather than first. Trim the edge with the knife held at an angle so it finishes bevelled instead of blunt. Four hours on the fruit, then lift it off and dry it upside down.
Linen-pressed coasters
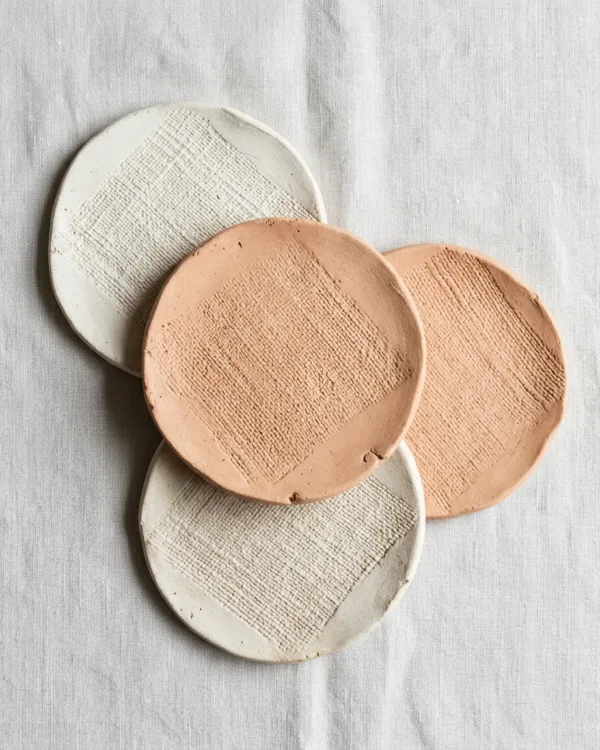
Press coarse linen into an 8mm slab. Hard — hard enough that individual threads show when you peel it back. Cut your circles with the rim of a drinking glass. The effect arrives later, when a thin wash of paint sinks into the weave and skims off the high points, and that two-tone shading is the whole reason these read as studio-made rather than craft-kit. Seal both faces and the edge. An unsealed coaster under a sweating glass goes soft by morning.
Arch incense holder
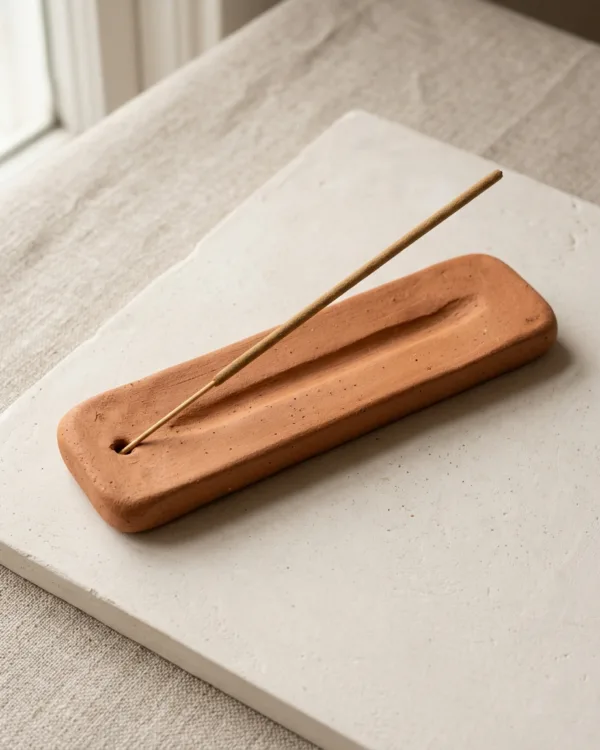
Nine centimetres by four, corners rounded, one hole at the end and a shallow trench down the length to catch ash. That is the entire design, and every version with added feet or carved edging looks worse than the plain one. Make the hole with a real incense stick, then wiggle it wider than feels right — clay pulls in about 5% as it dries and grips a stick that fitted perfectly when wet.
Marbled ring cone
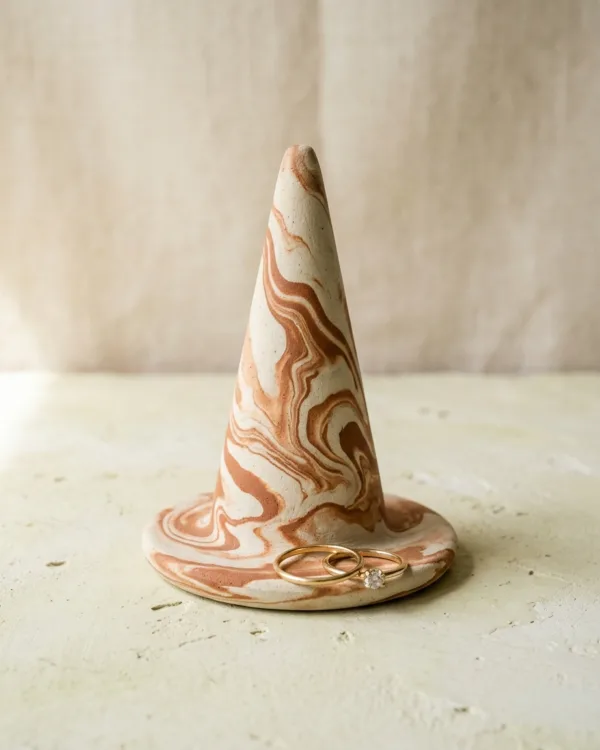
Twist two colours together and stop early. Much earlier than feels finished. Two folds, maybe three, then roll the cone — 7cm tall on a small round base. Marbling hides beginner surface work instead of exposing it, which puts it on its own among decorative moves. But it only runs one way. Once the swirl evens out into a uniform greyish pink, there is nothing to be done, because clay does not un-blend.
Test tube bud vase
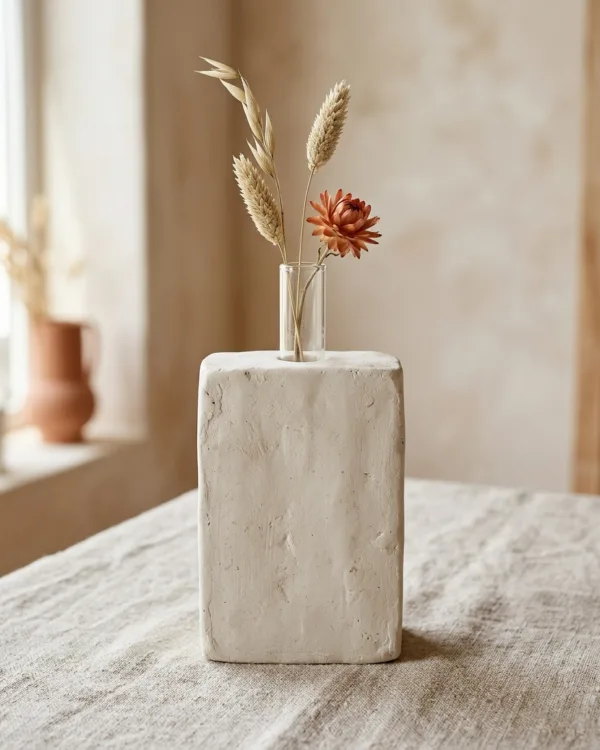
Air dry clay and standing water do not coexist, so stop trying to make them. Build a solid block, 8cm tall and 5cm across, and press a 16mm glass test tube into the top while the clay is soft, twisting as you go so the walls stay even. The tube holds the water. The clay holds the tube. Ten tubes cost a few pounds online, which is the entire materials cost beyond the clay itself.
Speckled catch-all dish
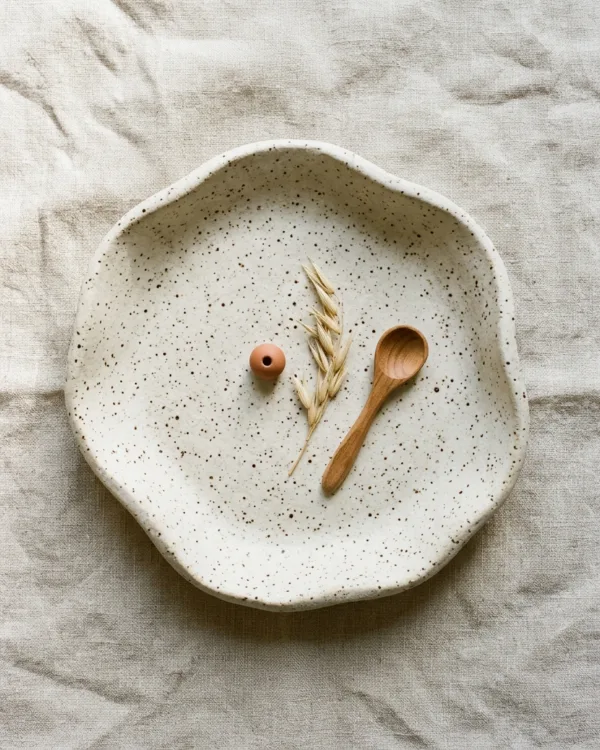
Freeform the edges, sand them smooth once dry, then flick watered-down black acrylic off a stiff brush. Speckle is what convinces an eye it is looking at fired stoneware. Distance matters more than the paint does: stand 30cm back and flick upward, so the droplets fall onto the surface rather than hitting it. Flick straight at the piece and you get comet tails.
Taper candle holders
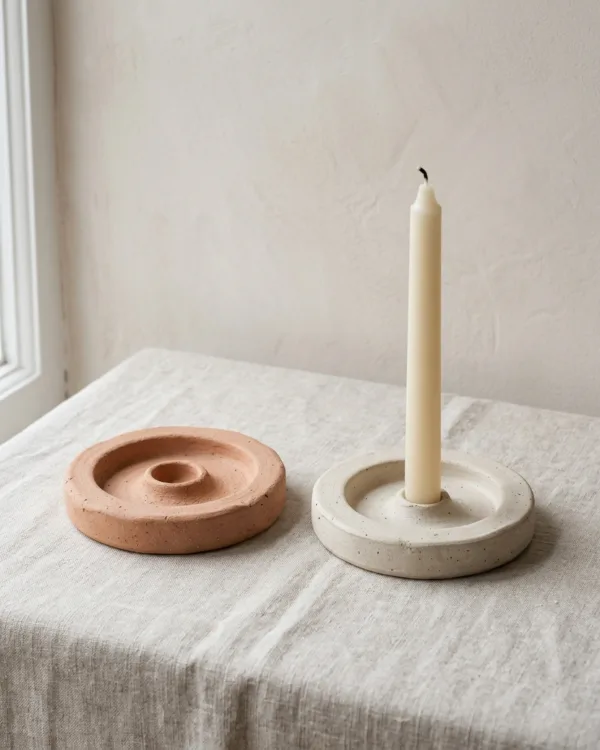
Standard dinner tapers measure 22mm at the base. So press the well with an actual candle wrapped in cling film rather than guessing with a dowel, and leave 8mm of clay all round it — go thinner and the first firm push chips the edge. Unfired clay is not a heatproof material, whatever the sealer claims. Treat these as furniture and snuff the candle with 3cm still to burn.
Napkin rings
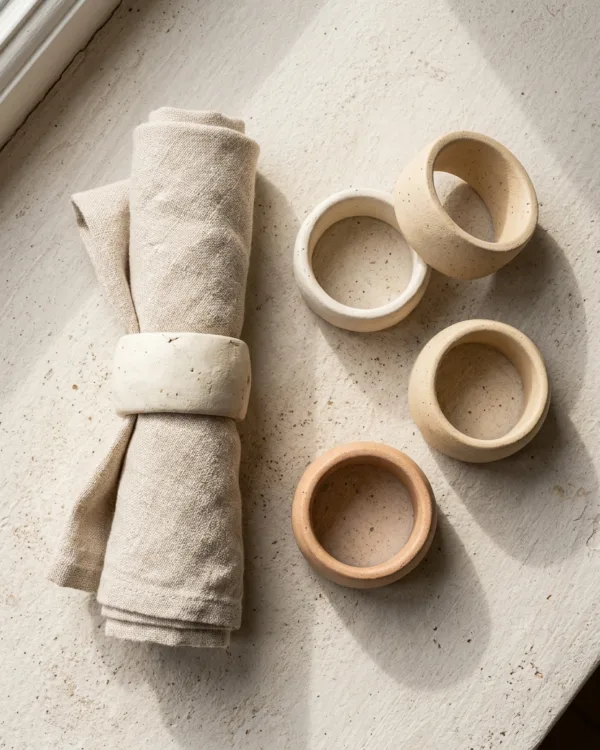
Cut 15mm strips from a 5mm slab, wrap each one around a cardboard tube covered in cling film, and blend the join on the inside where nobody looks. Two hours later the tube slides out. Now make six rather than four. One will dry into an oval and one will split at the seam, and four is the number you want at the end rather than the number you started with.
Pressed botanical wall tiles
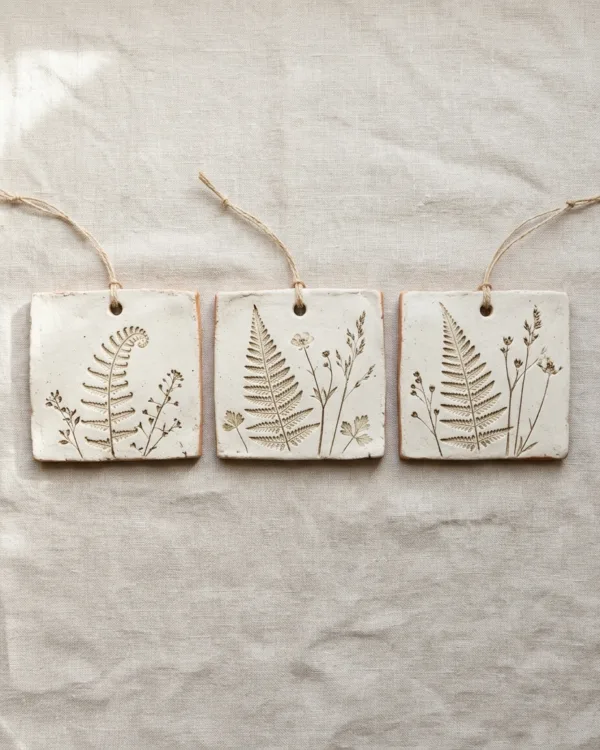
Press real foliage into an 8mm slab and lift it straight back off. Leave it embedded and it traps moisture against the clay, and a week later a brown stain is creeping out from the shape. Fern and cow parsley print well, because their structure is all line. Thick petals go to mush and leave a dent that could be anything. Punch the hanging hole while the slab is soft, 10mm below the top edge.
Plant pot cover
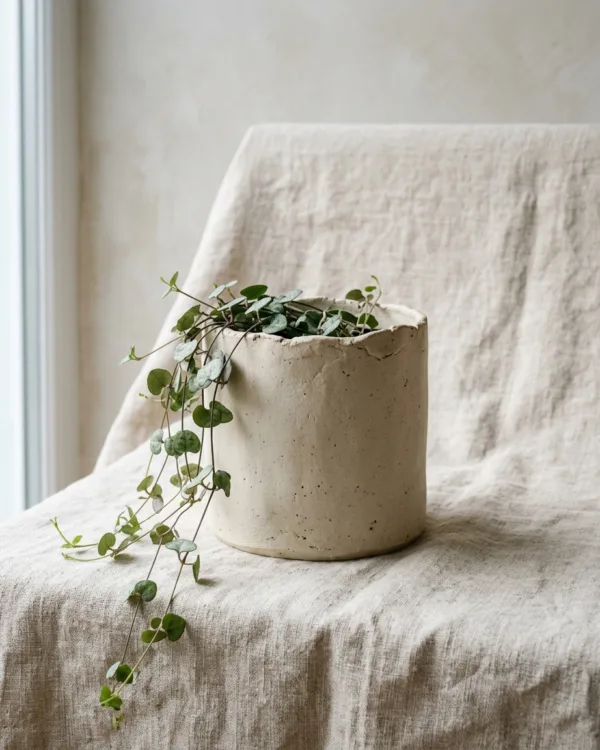
Not a planter. A cylinder with a base, sized to swallow the plastic nursery pot the plant arrived in — measure that pot, add 8mm, cut the slab to match. Watering happens in the sink and the plant goes back once it has drained, so the clay never meets water at all. A hand-built rim looks deliberate on a cylinder in a way it never quite manages on a bowl.
Bead garland
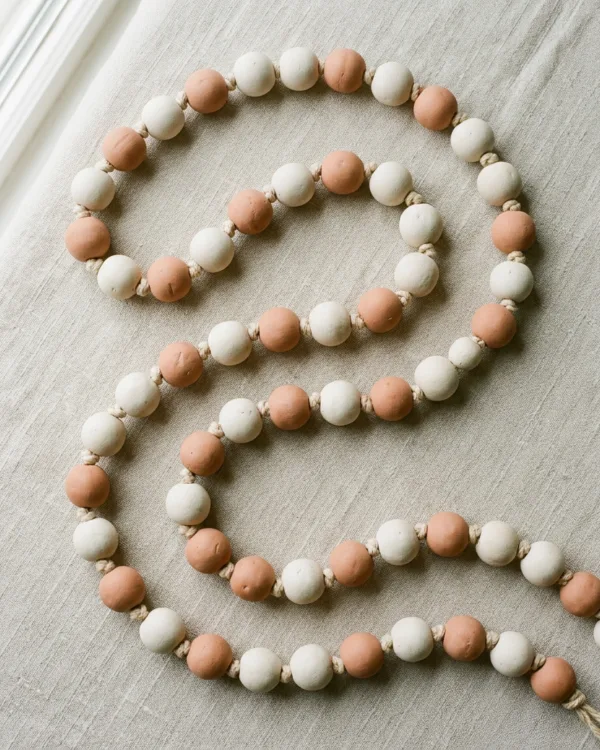
Roll the beads between your palms, pierce each one with a bamboo skewer, then leave them on the skewer to dry. Beads dried lying on a table flatten along one side. Roll three different sizes and alternate them, because a garland of identical beads reads as bought — and bought is the thing this whole list is trying to avoid, except in the sense of quality. Knot the cord between beads so they cannot slide into a clump at the bottom.
Drawer knobs
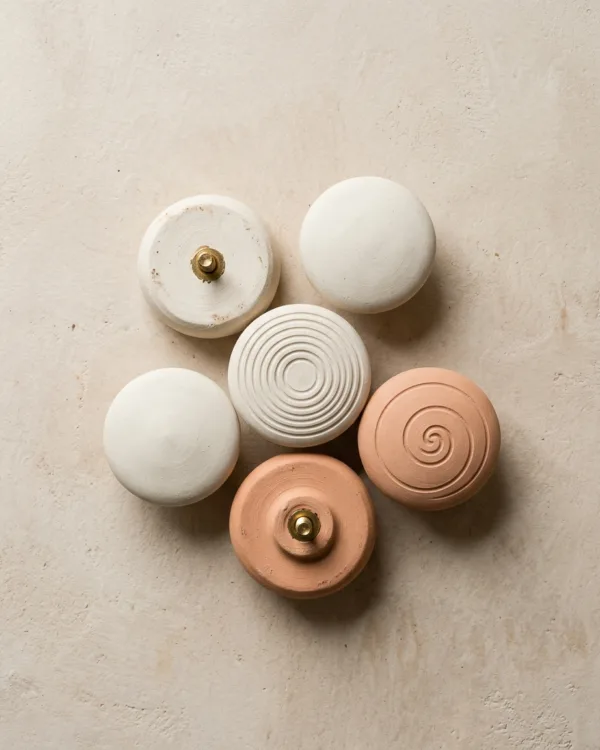
Set an M4 machine screw head-down into the back of each ball while the clay is soft, thread standing proud, then press a small disc over the buried head to lock it in place. Once dry it screws onto any standard drawer front. Per hour spent, this changes a room more than anything else here — a plain chest of drawers becomes a different object — and nobody who opens one assumes clay.
Card stands
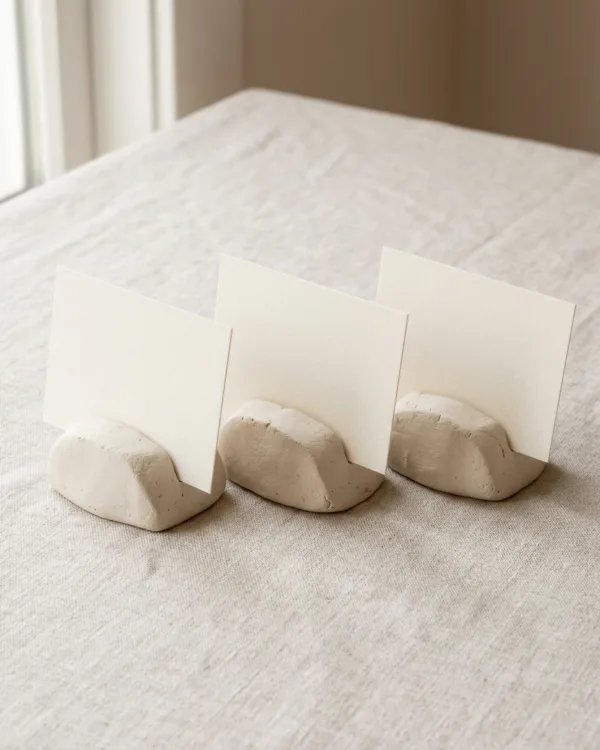
A low wedge with a 2mm slot cut across the top. Ten minutes, start to finish. Cut that slot deeper than instinct says — 12mm — because a shallow one lets the card tip forward every time somebody walks past the table. Make eight while the clay is out.
Coil vase for dried stems
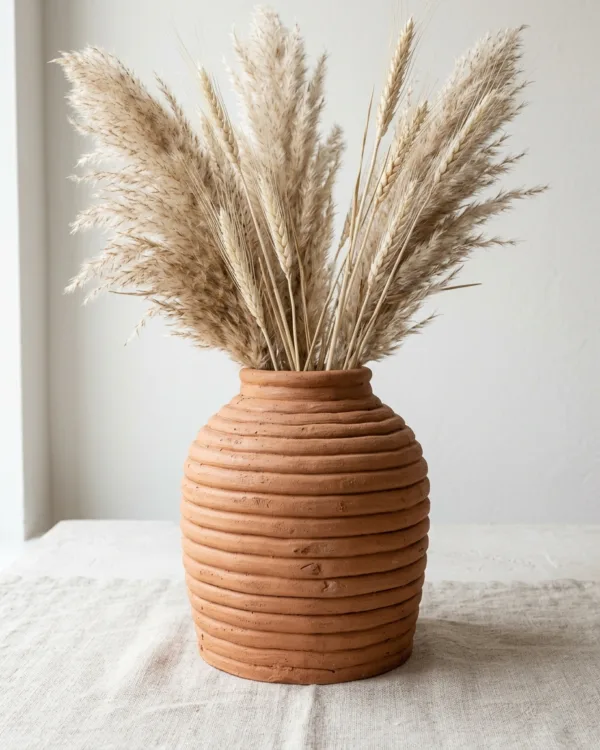
Coil building gets written off as the primary-school technique. Leave the coils showing on the outside though, smooth only the inside, and it stops looking remedial and starts looking chosen. Roll them around 12mm thick and keep them consistent, because one thin coil in the middle of the stack is the line the vase eventually cracks along. Dried stems only. Water in an unfired vase is a slow-motion flood.
Carved stripe vessel
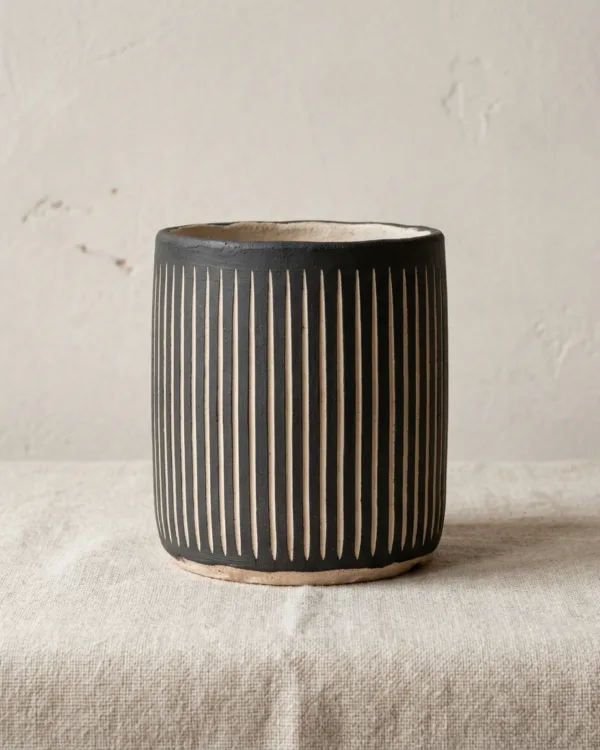
Paint a dried cylinder a flat dark colour, wait until it goes touch-dry, then scratch narrow vertical lines through to the pale clay underneath. It is sgraffito with acrylic standing in for slip, and on air dry clay it beats the traditional version, because the body underneath is uniformly pale instead of mottled. The window is narrow. Scratch too soon and the paint smears; leave it overnight and the line chips rather than cuts.
Earring stand
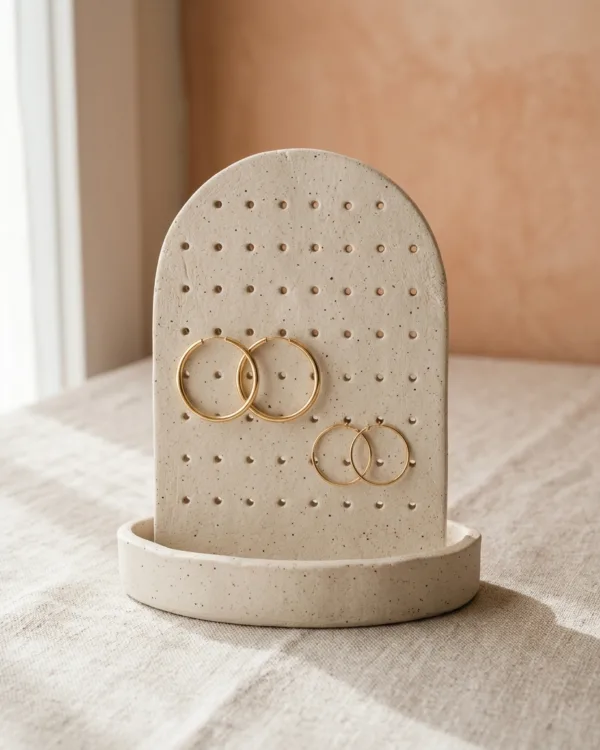
Punch a grid of holes into a flat arched panel with a 2mm drinking straw, 15mm apart, wider than the earring wire actually needs — clay shrinks, and a hole that fits exactly when wet will not fit at all when dry. Slot the panel into a shallow base. Dry it flat under a light book with the corners weighted. Anything thin and upright dries into a banana.
Wall hooks
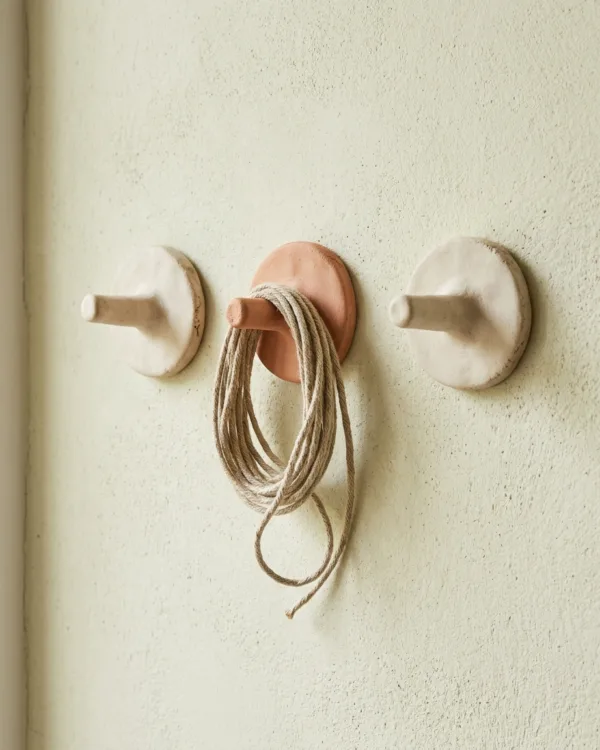
Score and slip the join between peg and backplate, then smooth a thin coil into the angle where the two meet. That coil is the project. All the load goes through the peg, the peg is what snaps, and a hook that fails takes a chip of plaster off the wall with it. Punch the screw hole through the backplate before anything dries. These hold a tea towel or a light bag. A winter coat pulls one off the wall.
Starting from nothing, the whole list runs on a 1kg block, a rolling pin and a craft knife, plus sandpaper in two grits — a £20 shopping list at the outside. Begin at number three or number thirteen, both finished inside fifteen minutes. And do more than one thing per session, because an opened block goes unusable in about a week whether you touch it again or not.