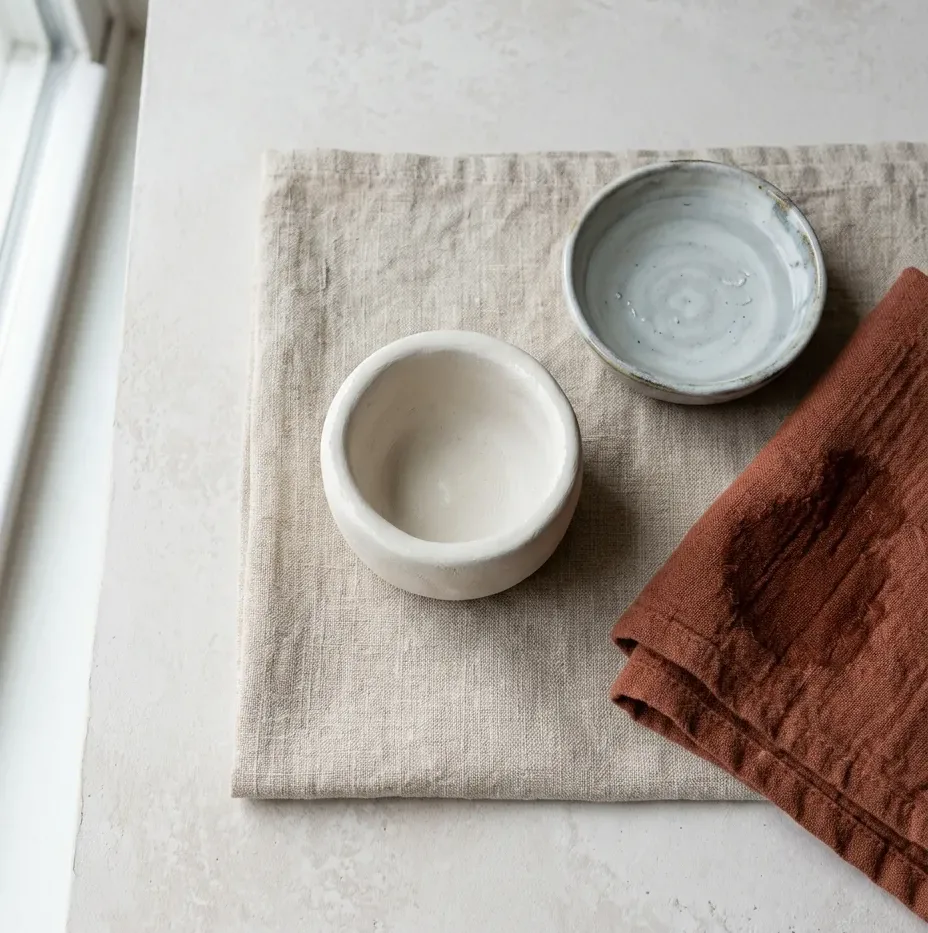
A pinch pot goes on the windowsill overnight, because that is where the light is. By morning the rim has curled like a dry leaf and a split runs down one side. Nothing went wrong while it was being made. It went wrong in the eight hours nobody was watching.
Most air dry clay failures come down to ten things, and seven of them happen after the shaping is finished. Each one below gets the cause and the repair, plus a straight answer on whether the piece in front of you is worth rescuing. This material is genuinely forgiving for a first project. It is not forgiving about drying.
Which one is yours
Match what you are looking at, then jump to the fix.
- 01The surface went soft and pitted while smoothing
- 02A thick piece split days after it felt dry
- 03It dried fast near a heater and cracked anyway
- 04A flat piece warped or lifted at the edges
- 05A join came apart in your hand
- 06Cracks opened along a wire or bottle core
- 07Paint blistered or the varnish went cloudy
- 08It softened or stained near water
- 09A thin detail snapped off
- 10The block went crumbly in its bag
Smoothing with water
Save it
What happened
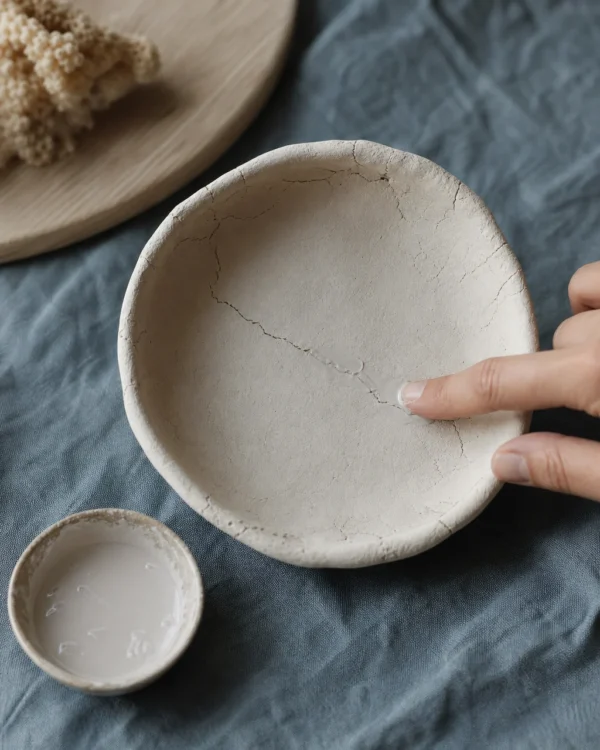
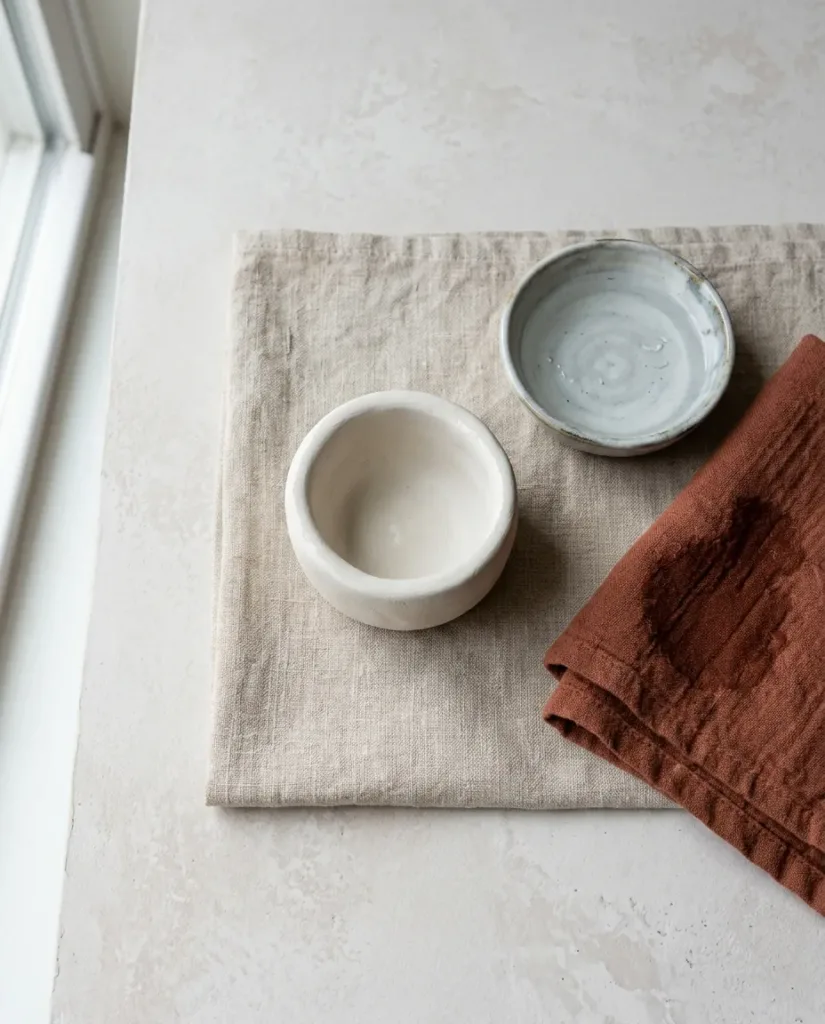
Water does not polish air dry clay. It dissolves it. The surface turns to slip under a wet fingertip, and that slip dries at a different rate to the clay holding it, so it crazes into a web of hairline cracks. Wet fingers feel like they are working. They are taking the top millimetre off and putting it back as something weaker.
Fix
Smooth with pressure, not water. The back of a teaspoon does more than a damp finger ever will. Leave the real finishing until the piece is bone dry, then take 220 grit to the ridges and 400 grit to everything else. A barely damp cloth lifts the dust at the end.
Building it solid
Start again
What happened
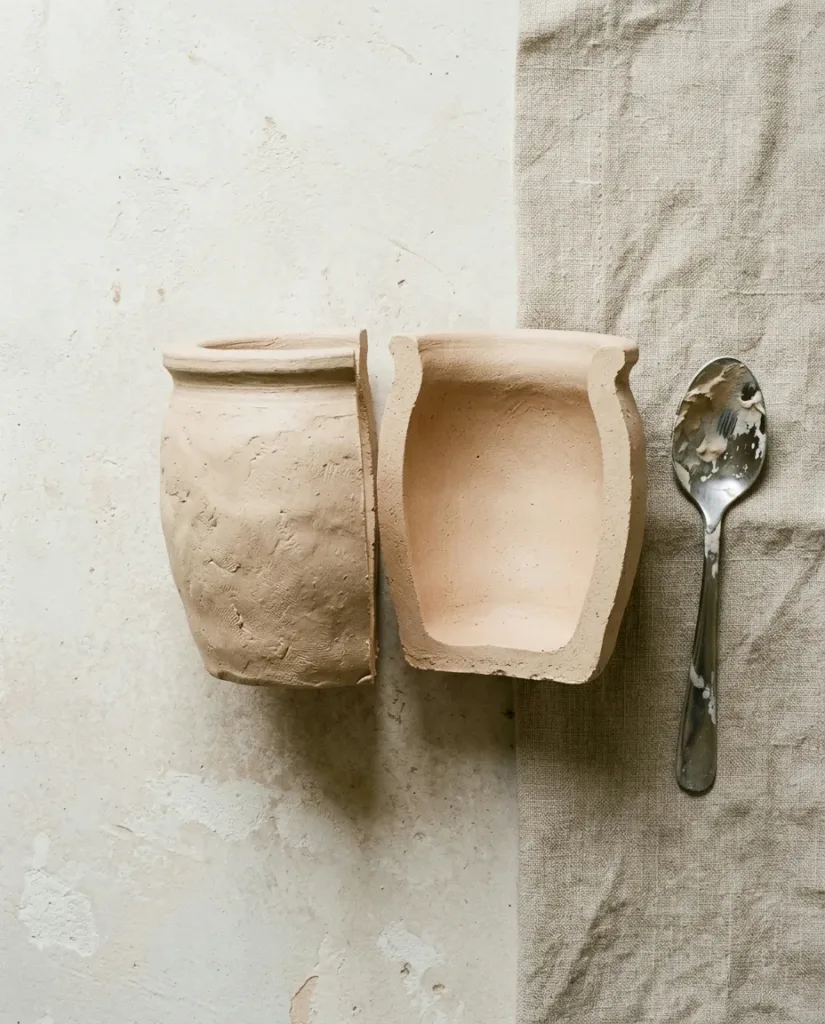
Anything thicker than about 20mm dries from the outside in and takes a week to reach the middle. The shell hardens and stops moving. The core keeps shrinking behind it, and eventually the piece tears along its own thickest line — often four or five days after the surface felt finished.
Fix
Nothing complicated here: once the clay is firm enough to hold its shape, scoop the back out with a spoon until the walls sit between 10 and 15mm, then blend the opening closed. Chunky shapes want a core of crumpled foil rather than solid clay.
Drying it fast
Rework it
What happened
Heat does not dry a piece faster. It dries the outside faster, which is a different thing, and the surface hardens onto a body that is still full of water and still shrinking. A radiator manages this in about three hours. A sunny windowsill takes a day and warps the piece as well, because only one side of it is getting the heat. Hairdryers reach the same end faster than anything else, and the crack usually opens while the air is still blowing on it.
Fix
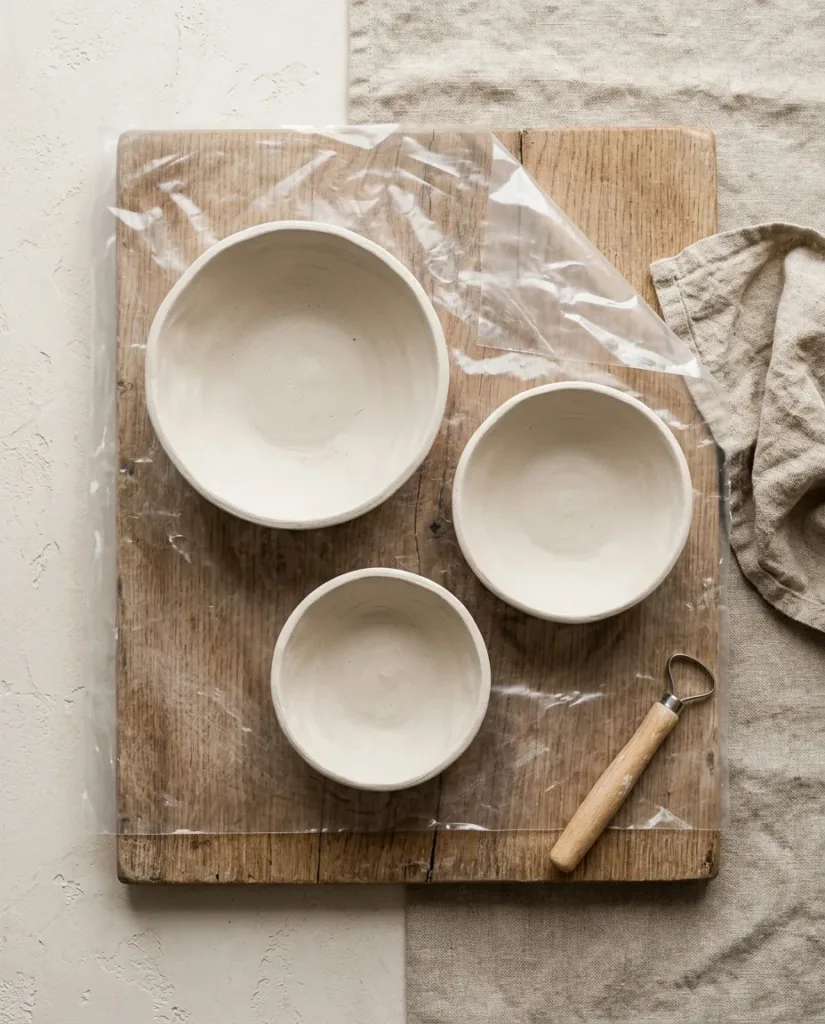
Room temperature, out of direct sun. Tent it loosely with a plastic bag for the first 24 hours, then take the bag off and give it another two days. Turn the piece a quarter rotation whenever you walk past it — that alone stops most warping. Existing cracks fill with a paste of clay scrapings and PVA, sanded flat once hard.
Drying it flat on the table
Start again
What happened
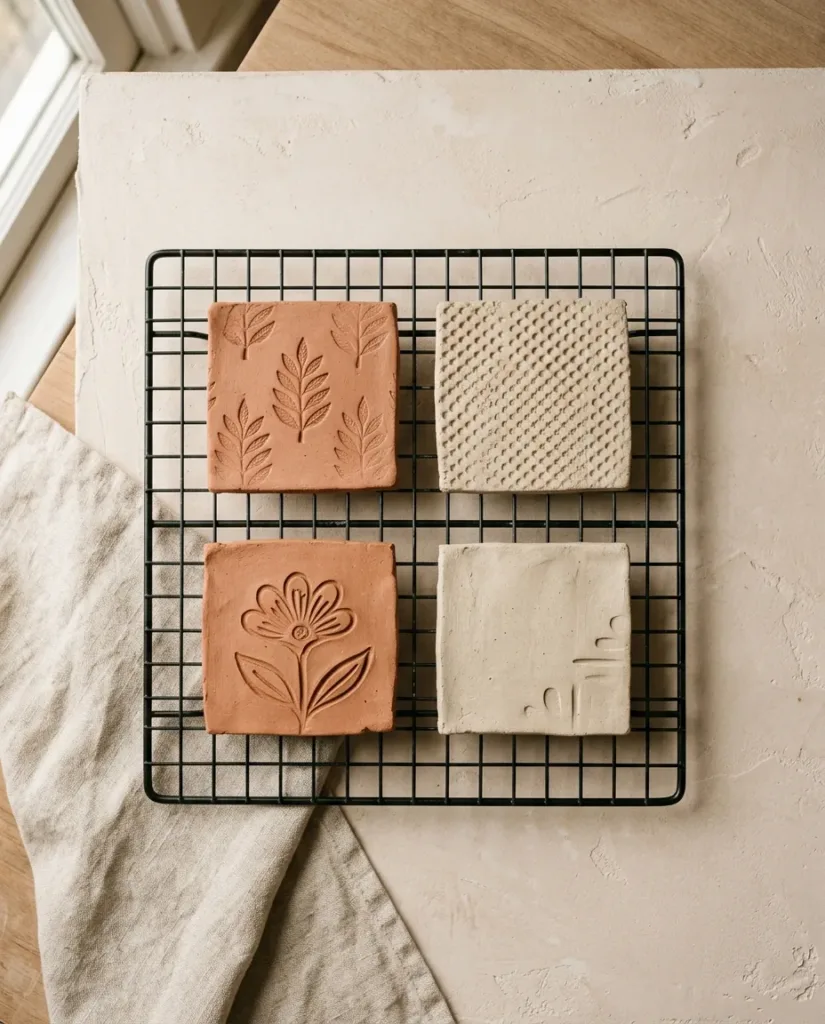
Clay only loses water through surfaces that meet air. A piece lying flat on a table has one whole face sealed against wood, so the top contracts while the underside stays saturated, and the edges pull upward. A slab that was flat on Monday is a shallow dish by Wednesday, and a dry warp does not flatten back.
Fix
Air has to reach the underside. Dry flat work on a wire cooling rack and flip it once a day for the first two days. Tiles and coasters do better with a second tile laid on top for the first 12 hours — enough weight to hold them down, not enough to squash the shape out of them.
Pressing joins together
Rework it
What happened
Two wet pieces pressed together are not joined. They are touching. Friction holds them while the clay shrinks by roughly 5 per cent on the way to dry, then it gives up — usually as the piece is being picked up, which is how a handle ends up on the floor with a clean face on it.
Fix
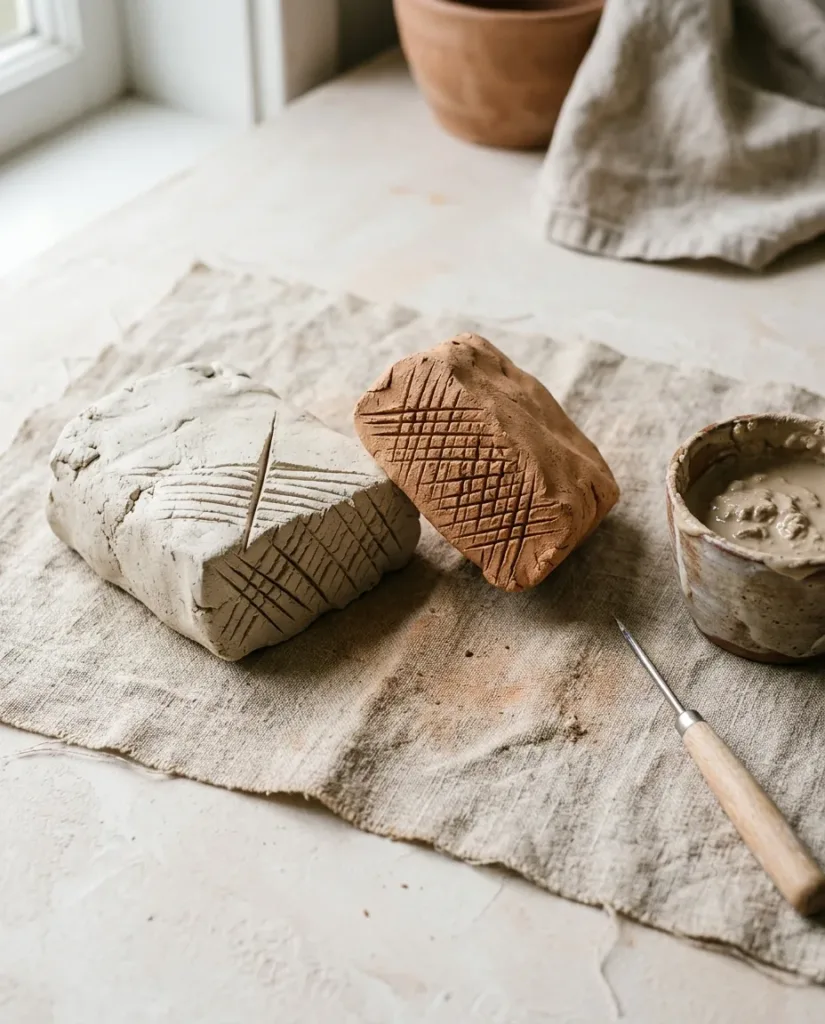
Slip on its own is not enough on this material. Score both faces in a deep crosshatch, then wet them into a slurry. Press the two together with a small twist. Stir a smear of PVA glue into that slurry before you use it. Then run a thin coil of clay around the seam and blend it in with a tool rather than a finger. This is one place where the pottery rules do not transfer.
Building over a rigid core
Start again
What happened
Air dry clay shrinks by around 5 per cent as it dries. A glass bottle underneath it shrinks by nothing at all, so the clay grips something that will not move with it and tears itself open along the widest curve. This is the crack that shows up on day two and widens every hour after that.
Fix
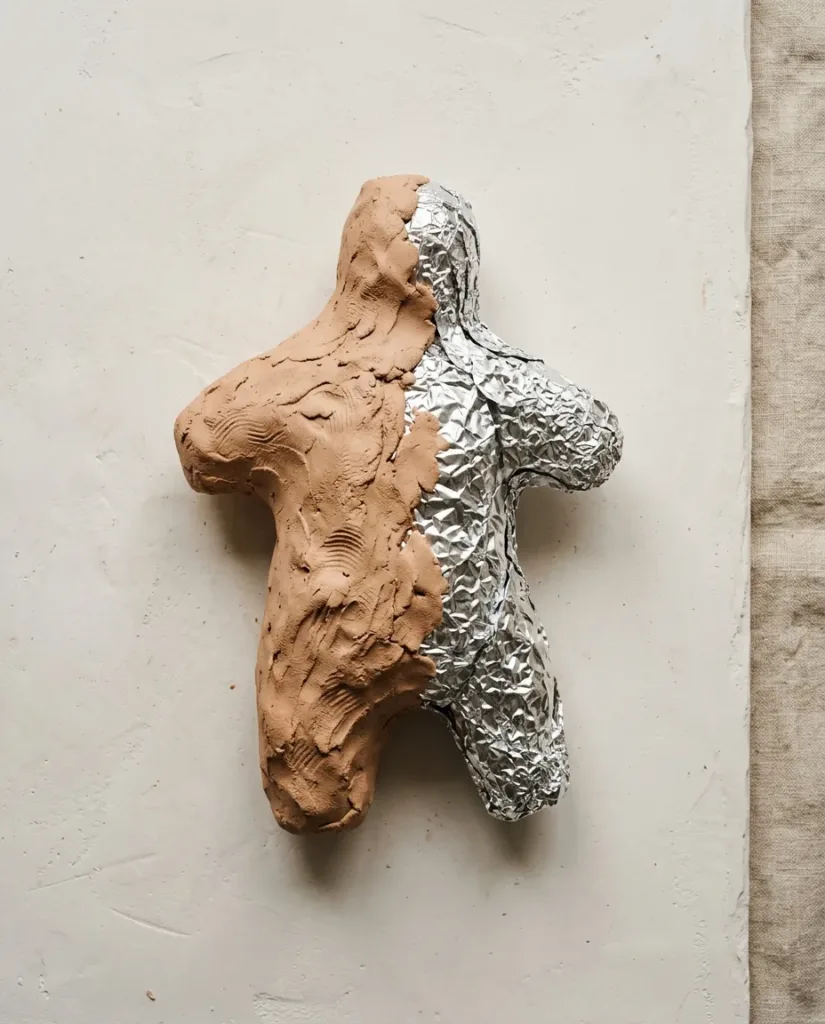
Crumpled aluminium foil compresses as the clay pulls inward, which is why sculptors use it for bulk. Wire armatures are fine inside thin limbs, where there is too little clay to build real tension. For a shape that genuinely needs a bottle or a tin underneath it, build the clay as a separate shell and glue it on once both parts are dry.
Sealing it before it is dry
Rework it
What happened
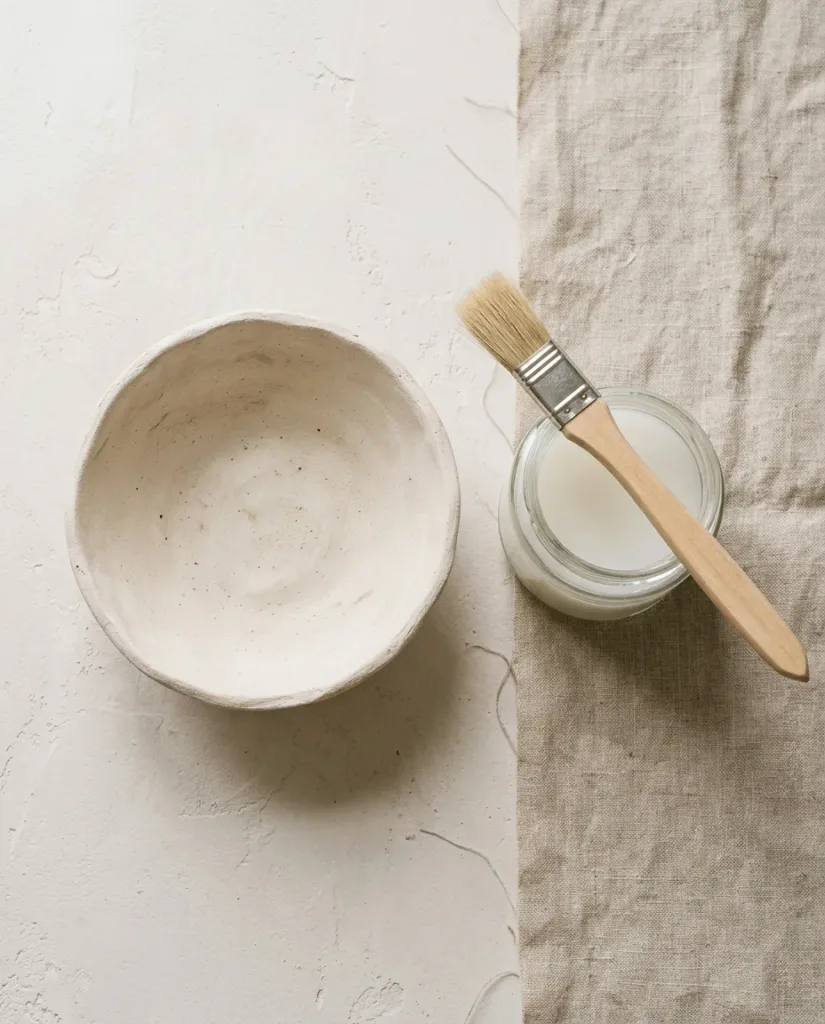
Hold the piece against your cheek. Cool means wet, whatever the surface is telling you. Seal it in that state and the water has nowhere left to go, so it lifts the paint into blisters from underneath. Clear varnish goes milky about a week later, and by then the finish has to come off before anything else can happen.
Fix
72 hours, not the 24 printed on the bag. Weigh the piece on kitchen scales two days running, and when the number stops dropping the water has finished leaving.
Expecting it to hold water
Rework it
What happened
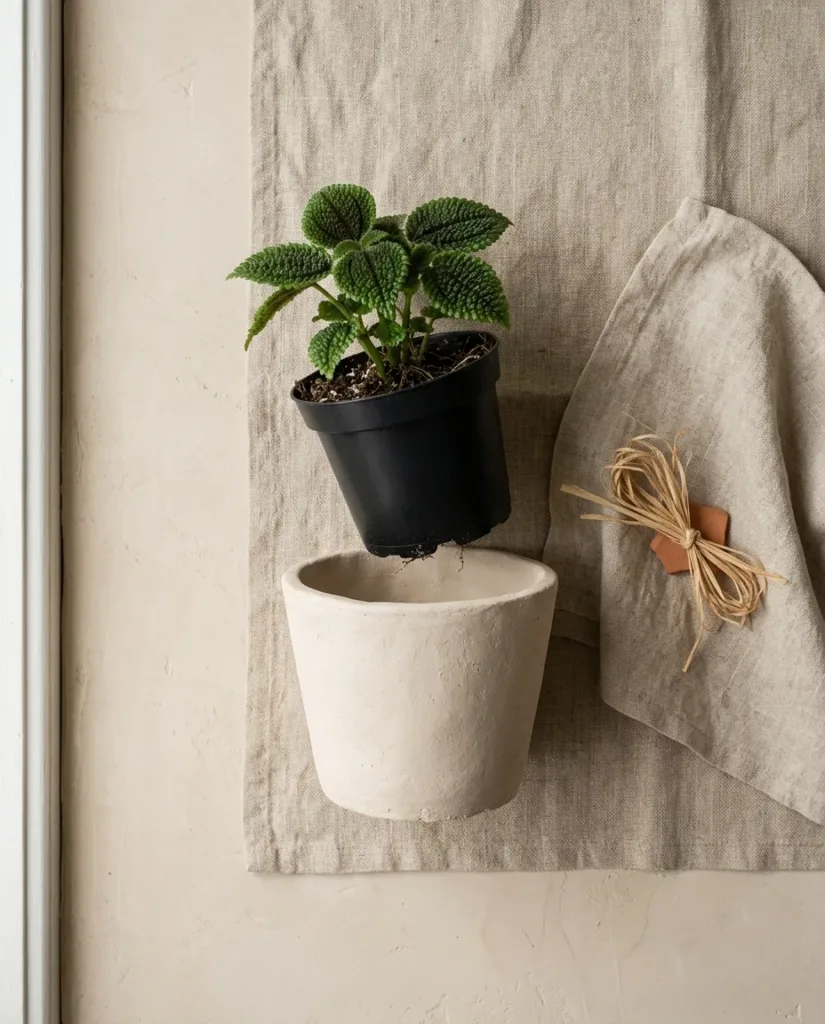
Air dry clay never stops being water-soluble. Sealer slows the exchange down, it does not end it. A mug of tea softens the inside wall of an air dry cup within an hour, and a watered houseplant does the same thing slowly enough that people blame the paint instead. Nothing on the shelf at a craft shop changes the chemistry.
Fix
Design around it. A planter needs a plastic nursery pot dropped inside to do the real work. A vase wants a glass test tube or a jam jar hidden in the neck. Drinking vessels are the wrong use of this material altogether, and food-safety ratings belong to fired and glazed bodies — check what your clay manufacturer states rather than trusting a sealer to make the difference.
How long drying actually takes
Packets say 24 hours. That figure describes a 5mm slab in a warm dry room with air moving through it, and almost nothing anyone makes is a 5mm slab. Roughly half the problems above are really this one problem wearing a different coat, so it is worth having the real numbers somewhere.
| Thickness | Feels dry at | Actually dry at |
|---|---|---|
| 5mm slab | 12 hours | 24 hours |
| 10mm wall | 24 hours | 2 to 3 days |
| 20mm form | 2 days | 5 to 7 days |
| 30mm solid | 3 days | 10 days, if it survives |
And a cold room stretches every number in that table. A conservatory in July halves them and cracks a good share of the pieces on the way, so the fast end is not the end to aim for. Damp weather is the awkward one — a humid week can add 48 hours to a small bowl with no sign that anything is different.
Making details too thin
Save it
What happened
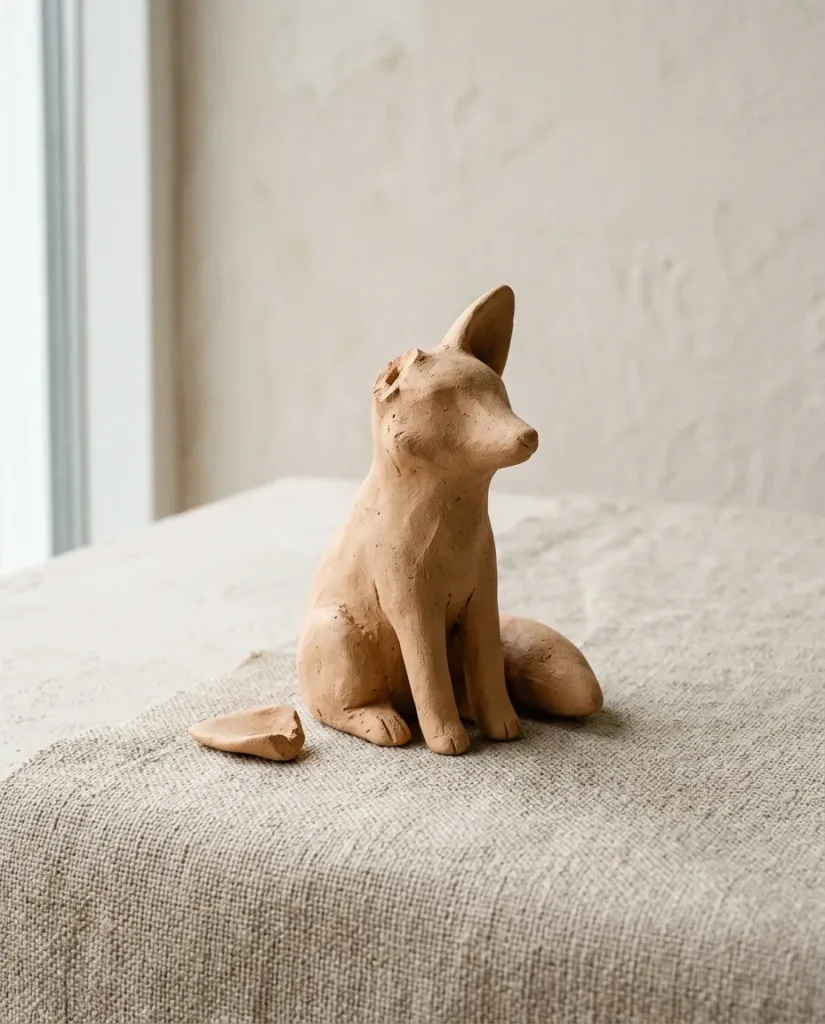
Unfired clay has close to zero tensile strength. Anything under about 5mm that sticks out from the body will snap, if not during drying then the first time the piece gets picked up by the wrong part. Ears go first. Tails go next.
Fix
Thicken it, or tuck it in. A tail curled against the body survives handling and reads as a design choice rather than a compromise. Where a projection genuinely has to be thin, push a short length of florist’s wire into the body as a spine before you build the clay around it. Glue breaks back with PVA and nothing else — fresh clay on dry clay shrinks and pops off again inside a day.
Letting the block dry out
Save it
What happened
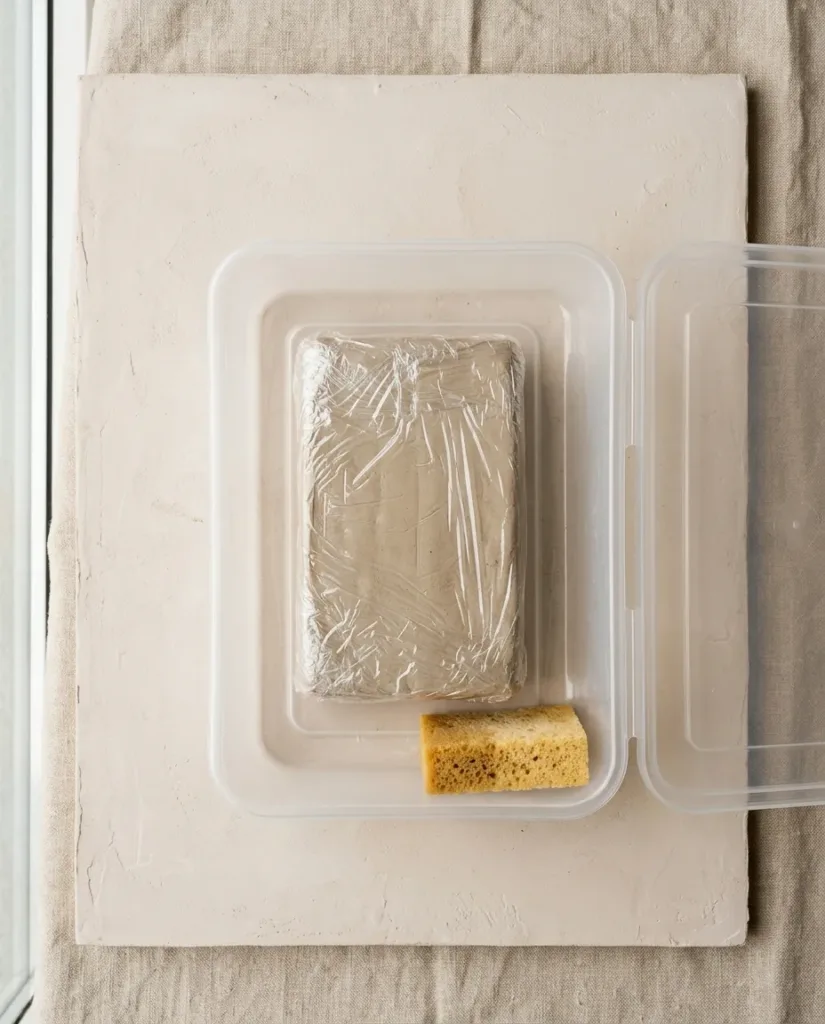
An opened block left in its own bag hardens from the outside in, and a week is usually enough to do it. Cut plastic is not airtight, and clay loses water to a dry room straight through it. Crumbly clay is not dead clay, though, and most beginners bin it about four days too early.
Fix
Wrap the block tight in cling film with the air pressed out, then keep it in a lidded box with a damp sponge in one corner. To bring hard clay back, break it into walnut-sized lumps, sprinkle water over them and seal the lot in a bag overnight. Knead it the next morning.
The habits that stop all ten
- Hollow anything thicker than 20mm and core it with crumpled foil.
- Dry at room temperature on a wire rack, tented loosely for the first day.
- Score and slip every join, with PVA stirred into the slurry.
- Weigh the piece two days running before any paint touches it.
- Finish with sandpaper once it is dry, never with water while it is wet.
- Wrap the open block in cling film and keep a damp sponge in the box.