Mosaic stepping stones are the easiest way to turn a scrappy dirt track into something that looks intentional, and most tutorials make the process sound harder than it actually is. The stone itself is just concrete poured into a mold. The pattern on top is the only part that takes real skill, and even that is closer to arranging tile on a countertop than sculpting anything — if you can lay out a jigsaw puzzle, you already have the hand for this.
Materials vary from one design to the next — that variety is the point of doing eight instead of one. Every stone starts from the same base, though: a round or square stepping-stone mold, roughly 12 to 14 inches across, filled about an inch and a half deep with quick-set concrete. Tesserae go in while that concrete is still wet, never after. Push a piece in once the surface has skinned over and it never really bonds — it pops loose the first time someone steps on it in January.
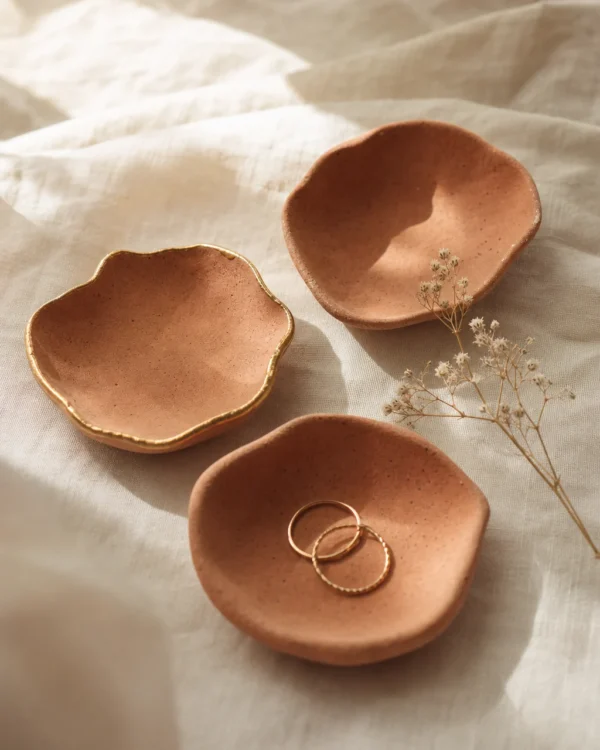
Air-dry clay tesserae need a coat of exterior sealer before they go outside, and that coat wants renewing about once a year — untreated clay pulls in moisture, and a hard freeze right after rain can crack a piece clean through. Glass and tile tesserae skip that step entirely. So does plain stone. Sanded grout, tinted to match the stone rather than left white, holds up better across a full winter than unsanded does.
Jump to
Sea Glass Mosaic Stepping Stone
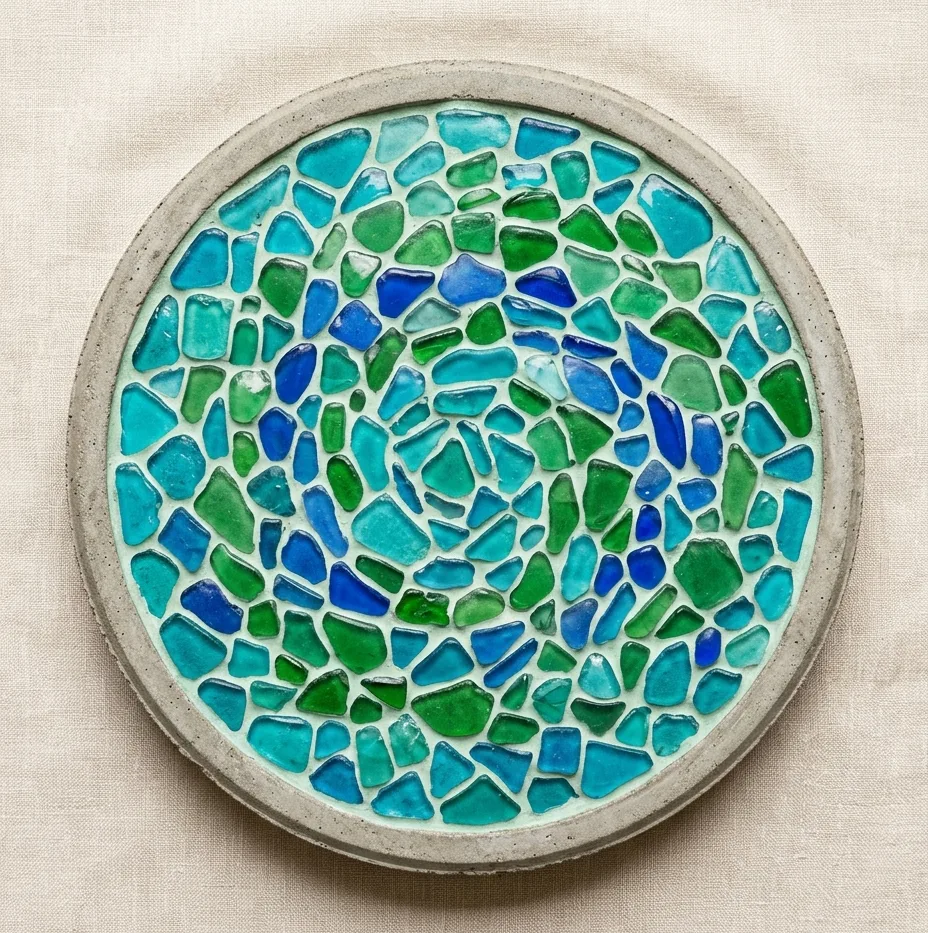
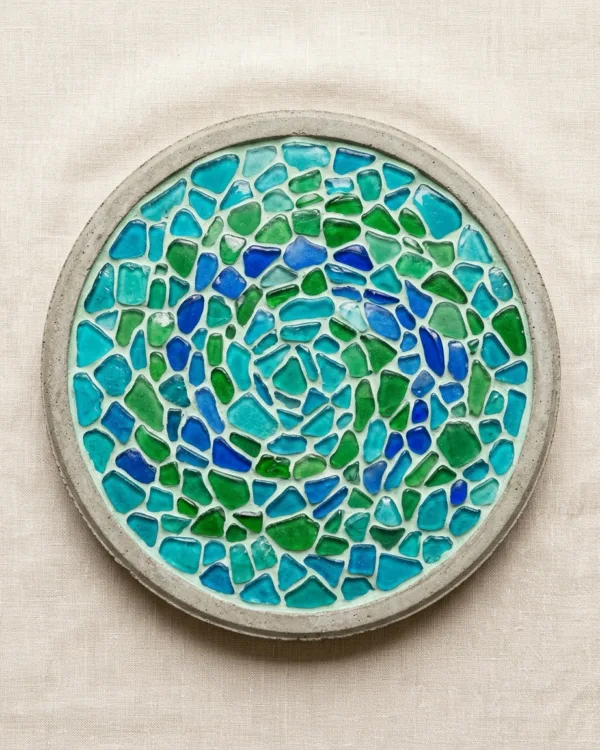
Forty to fifty pieces of tumbled sea glass cover a 12-inch stone with room to spare. Coat the mold with an inch and a half of quick-set concrete, then press each piece in by hand, angling the edges slightly outward so rain doesn’t pool against the glass. Grout after the concrete cures for two full days — tint it sea-glass green rather than stark white, since white grout reads as bathroom tile once it’s outdoors. Seal with an exterior stone sealer once the grout sets. Beach glass runs uneven in thickness; craft-store glass doesn’t, which makes for a friendlier first attempt.
Broken China Mosaic Stepping Stone
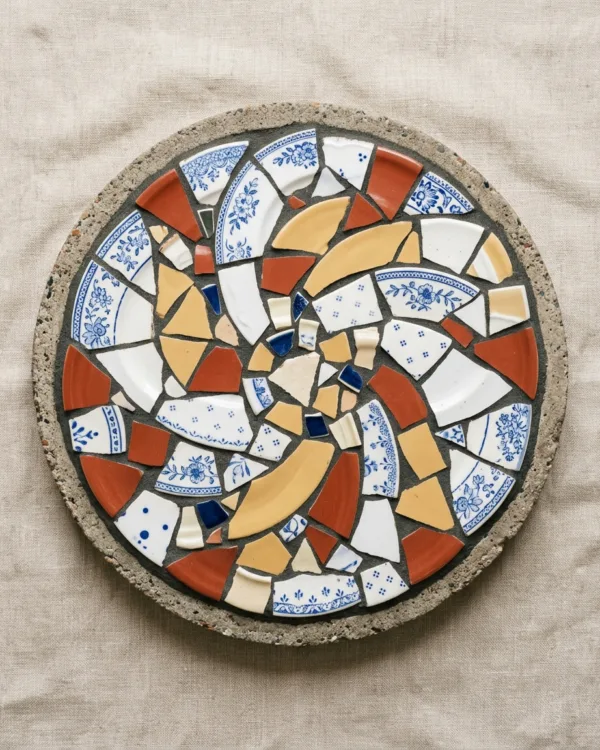
Not every chipped mug deserves the trash. Tile nippers cut old plates and mugs into rough triangles more cleanly than a hammer ever will, leaving a straighter edge to grout against. Lay the shards in a loose radial pattern from the center outward, keeping gaps under a quarter inch so the grout has something to grip. Sand every cut edge with a diamond pad once the grout sets — this is the step people skip, and skipping it is what leaves bare feet at risk on the finished path. Wear eye protection while nipping; ceramic throws sharp flakes.
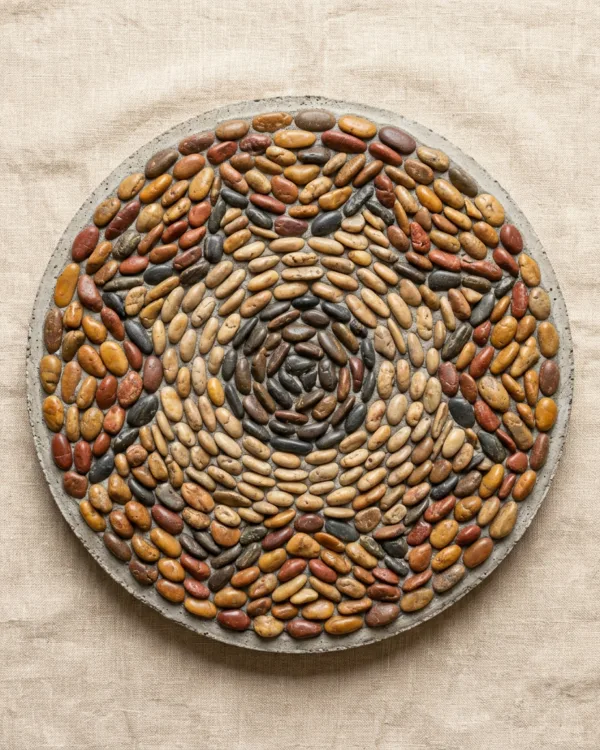
River Pebble Inlay Stepping Stone
River pebbles hold their color better than most craft-store glass, since they’ve already spent a few thousand years being weather-tested. Sort them by size and tone before starting, then lay them tip to tip in tight rows fanning out from the center — the whole stone reads almost like a starburst once it’s covered edge to edge. Pack rows close enough that only a hairline of grout shows between them. The finished surface has real traction underfoot, grip that a flat glass mosaic can’t match.
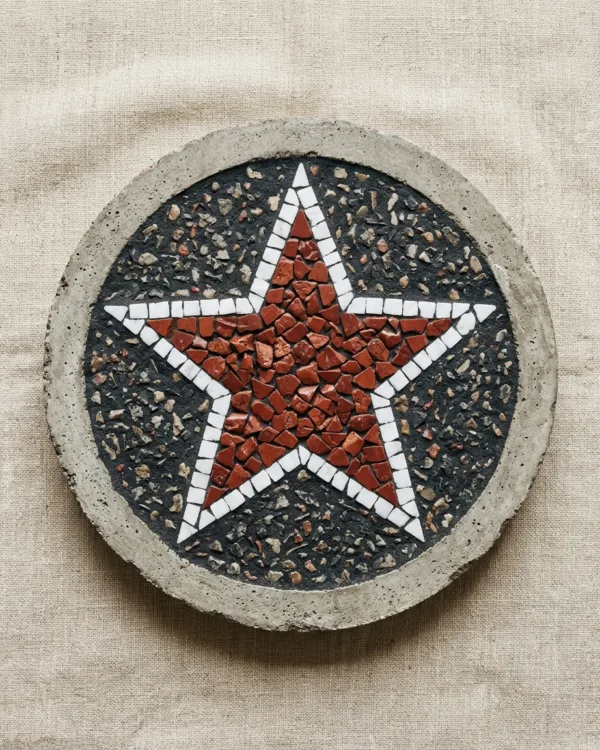
Marble Chip Star Stepping Stone
Sketch the star’s five points into the wet concrete with a stick before a single chip goes down — freehand it later and the points drift uneven. White marble chips or tumbled aquarium marbles trace the outline, angled flat-face-up so the light catches them evenly. Fill the star’s interior with a darker chip color, then grout the background in charcoal so the shape reads clearly from ten feet away. Budget closer to two hours than one for this one — most of it goes into the layout, not the setting.
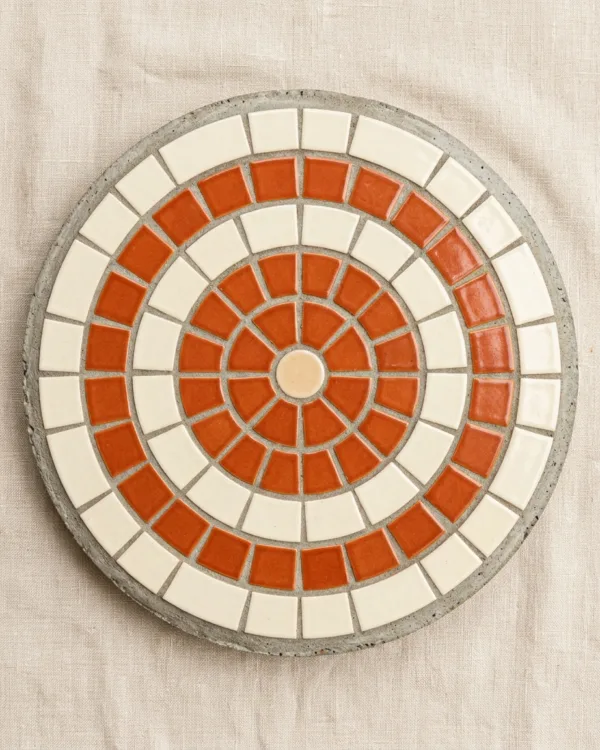
Concentric Ring Mosaic Stepping Stone
And this is the design that photographs best from directly overhead. Mark the rings with a string tied to a center nail, moving it out an inch at a time and scratching a guide line into the wet concrete. Alternate two tile colors ring by ring instead of one, or the bands blur together at a glance. Keep every ring the same width as its neighbors. Skip that step and the pattern reads lopsided even when the color count is right.
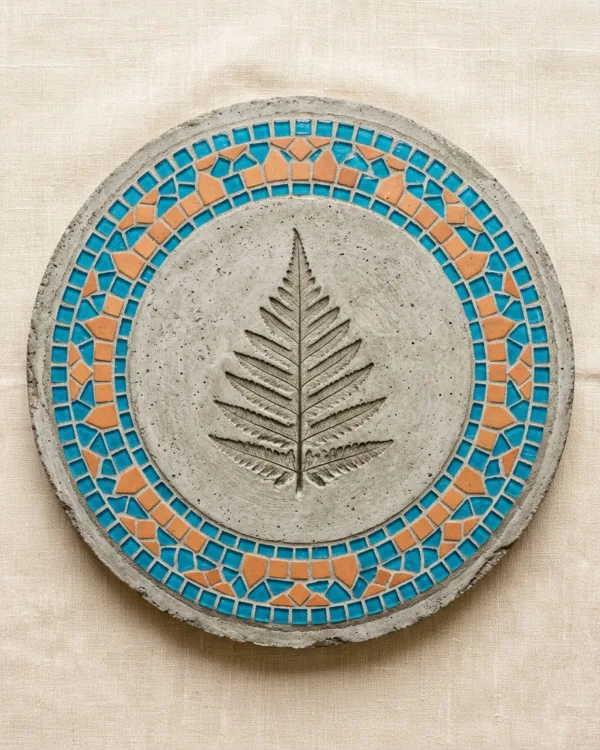
Pressed Leaf Mosaic Stepping Stone
A single pressed fern leaf becomes the mold for the whole design. Push it face-down into the wet concrete, vein side against the surface, and peel it away after twenty minutes — the leaf lifts free, but its vein pattern stays pressed into the stone. Outline where the leaf sat with a border of small glass or tile tesserae, leaving the impression itself bare so the texture shows through. It’s the fastest stone in this set, and the one most likely to fool a visitor into thinking it’s cast, not mosaic.
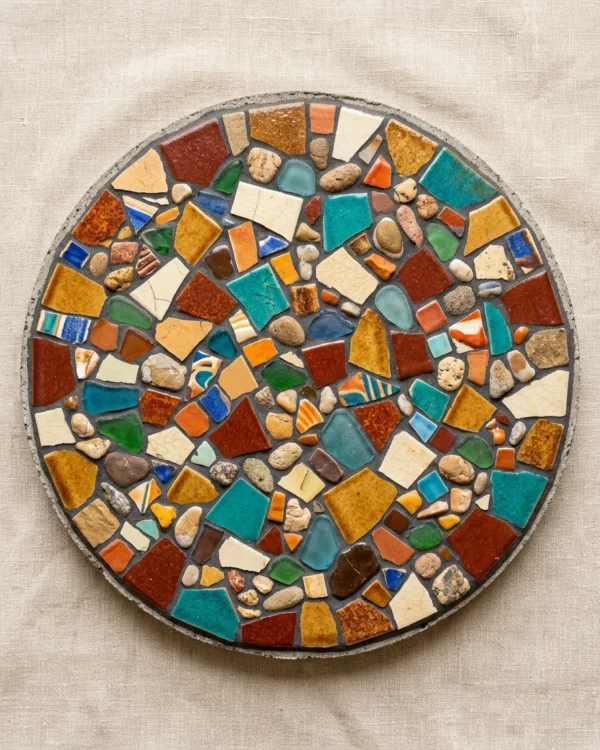
Crazy Paving Mosaic Stepping Stone
No two crazy-paving stones look the same, and that’s the entire appeal. Every leftover scrap from the other projects — a sliver of sea glass, a broken tile corner — goes into this one, plus whatever pebble or chip didn’t fit anywhere else. Lay the pieces tight and random, more jigsaw puzzle than pattern, and keep the grout lines as even as the odd shapes allow. Every material in it was already sitting in a bucket from an earlier project, not bought new for this one.
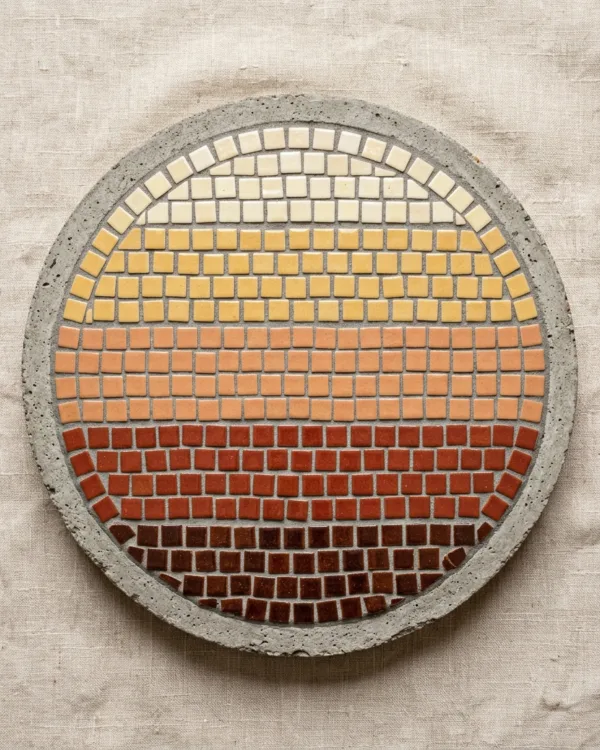
Ombré Gradient Mosaic Stepping Stone
The gradient stone takes the most planning of the eight and the least skill. Sort tesserae into four or five shades before starting, from the palest cream to the deepest rust, and lay them in bands running the width of the stone rather than radiating from a point. Buy or collect the tonal range in advance — a mid-project trip to match one missing shade never comes out right. The payoff is a stone that looks like a gradient from six feet away, even though up close it’s just tile sorted into five separate piles.
Grout is the piece most people underbudget. A 12-inch stone eats close to a pound of sanded grout once it’s mixed and tinted, and running out mid-stone leaves a visible color seam where the second batch dries half a shade off the first. Buy enough for all eight before you start the first one, not as each stone comes up.